Automotive thermal imaging and car electronics manufacturer since 2006 · Shenzhen, China
Installation guide

How to install a car thermal night vision camera

The camera goes outside the glass, in the front grille. One 5 m cable runs to the cabin, the host takes power from the cigarette-lighter socket, and the camera is levelled so the horizon sits mid-screen. Professional installation is recommended.

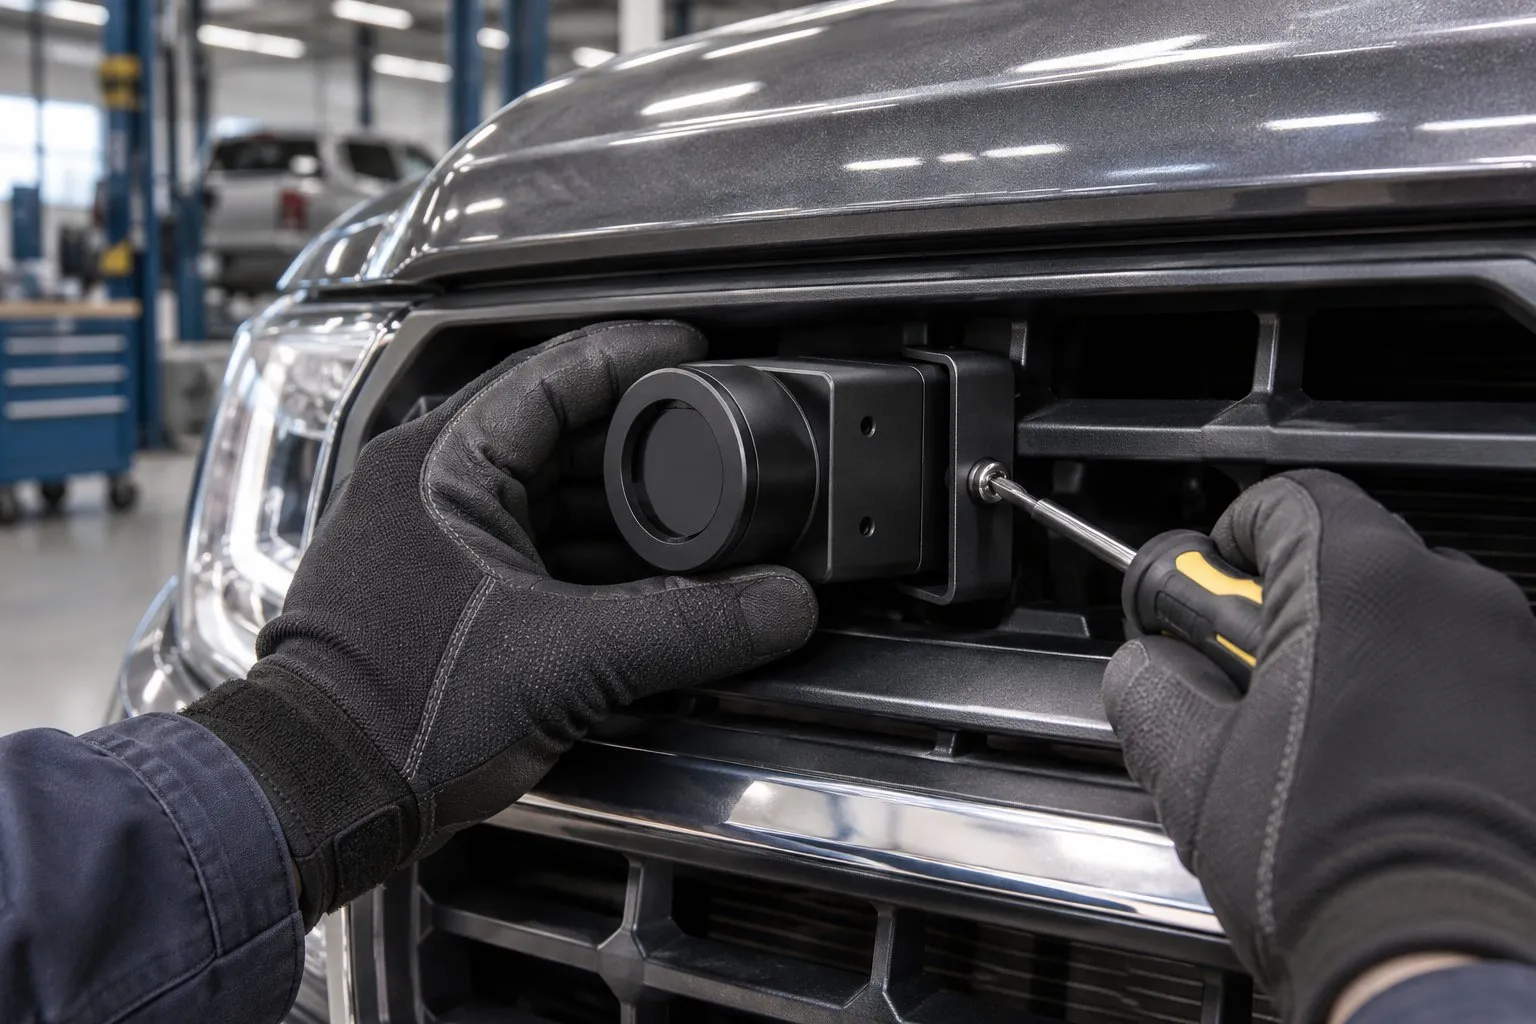
Technician fitting a compact thermal camera into the upper front grille of a pickup truck
01

Choose the camera position

Use the upper part of the front bumper grille (area 1). If it is too small or fully closed, as on some electric vehicles, use the lower bumper opening (area 2). Keep the camera as close to the centre line as the grille allows; it does not need to be exactly centred.

Far-infrared radiation does not pass through glass. The camera cannot work from inside the cabin.
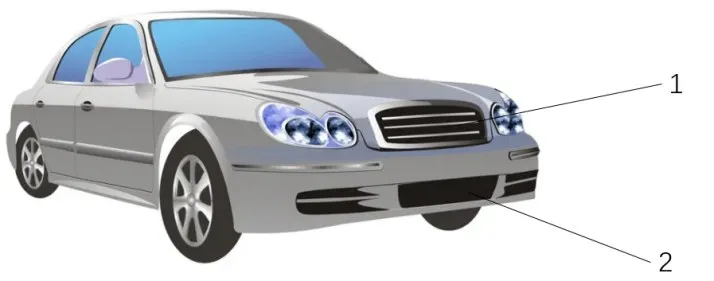
Front of a car with two marked camera positions: area 1 in the upper grille and area 2 in the lower bumper
02

Mount the camera

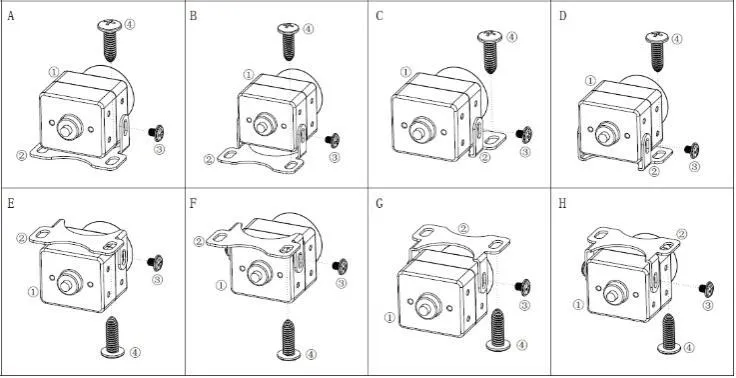
The universal bracket fits most grilles. The camera body has eight screw holes, so the bracket can be fixed from different sides depending on the vehicle. Wrap the camera and cable connectors with waterproof tape.

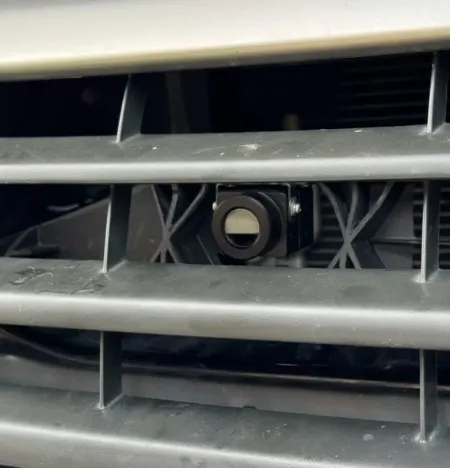
Thermal camera fixed behind the upper grille slats
Eight bracket mounting options using the screw holes on the camera body
03

Route the 5 m cable

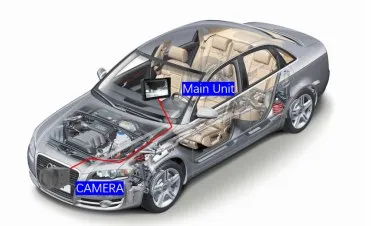
Run the automotive-grade, double-shielded cable along the side of the engine bay and into the cabin, usually via the A-pillar. Follow the factory harness, keep clear of the engine block, and secure it with zip ties.

Cutaway diagram of a car showing the camera in the grille and the cable running to the main unit in the cabin
04

Power and mount the display

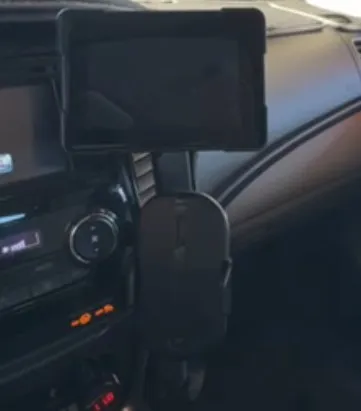
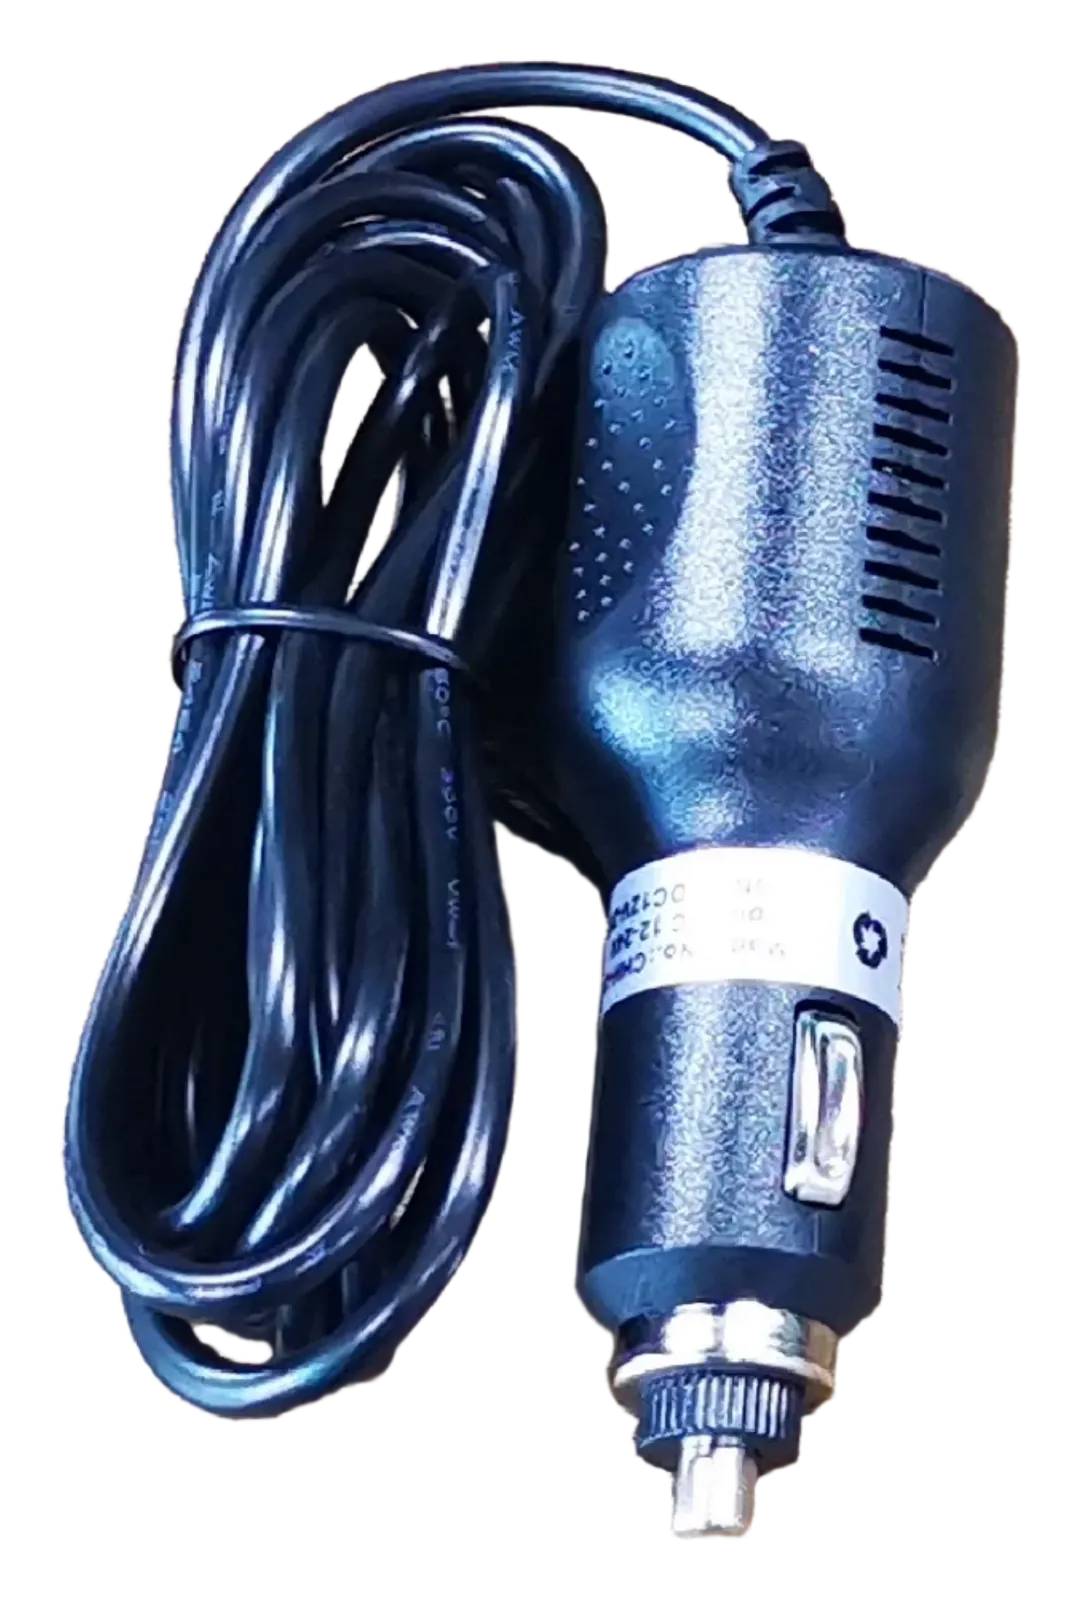
Connect only two things to the host: the camera cable and the cigarette-lighter power adapter, which has a built-in fuse and accepts 12 V and 24 V systems. Mount the host on the dash with the 17 mm ball mount where it does not block the road view or controls. A USB drive enables recording.

The 3.3 V alarm wire is for integrators only. Drive a relay with it, never a load.

Thermal display host mounted on a car dashboard
Cigarette-lighter power adapter with coiled cable
05

Start up and level the camera

The system starts when the socket is powered. The first start-up takes about 18 seconds, including camera warm-up. Adjust the camera so it is parallel to the ground and the horizon sits in the middle of the image, then fix the bracket with self-tapping screws.

Finally, set the warning zones and per-class alert distances on the touchscreen, and tune sensitivity on a test drive.

Installation questions

The full steps are in the user manual.

Can the thermal camera be installed behind the windshield?

No. Long-wave infrared does not pass through glass, so a camera behind the windshield sees only the glass. Mount it outside, in the grille.

Will it drain the battery?

On most cars the cigarette-lighter socket switches off when the car is locked, so the system powers down with it. If you hard-wire it, use a switched supply.

Can I wire it directly to the vehicle power?

Use a dedicated automotive power supply stabilised at 12 V and connect the host to it. Damage from incorrect power is not covered by warranty.

The image freezes briefly every few minutes. Is that normal?

Yes. The camera refreshes its calibration with an automatic shutter, which pauses the image for about 150 ms.

Why is the image less contrasted on hot days?

Thermal imaging shows temperature differences. When the air is close to body temperature, people stand out less from the background. This is a property of thermal imaging, not a fault.

Installing for customers? Ask for an evaluation kit.

Share your company, target market, vehicle types and expected quantity. We reply with a configuration, sample terms and pricing.