Unveiling the Power of Raspberry Pi Thermal Cameras

Thermal infrared cameras capture infrared radiation emitted by objects, revealing temperature variations imperceptible to the naked eye. The significance of Raspberry Pi thermal cameras lies in their cost-effective and customizable nature. This blog delves into the world of Raspberry Pi thermal cameras, exploring their components, working principles, and applications across various industries. Additionally, we will touch upon the versatility of Android thermal cameras and their role in expanding the accessibility of thermal imaging technology.
Raspberry Pi Thermal Camera Overview
What is a Raspberry Pi Thermal Camera?
A Raspberry Pi thermal camera combines the power of Raspberry Pi with thermal imaging technology to create a versatile tool for capturing temperature variations. The components of this innovative device include a Raspberry Pi board, a thermal infrared sensor, and necessary connectors. By harnessing the capabilities of these components, users can delve into the world of thermal imaging with ease.
To understand how it works, consider that the thermal infrared sensor detects infrared radiation emitted by objects in its field of view. This data is then processed by the Raspberry Pi board to generate a visual representation of temperature differences. Through this seamless integration of hardware and software, users can explore the unseen world of heat signatures and thermal patterns.
Comparison with Other Thermal Cameras
When compared to traditional thermal infrared cameras, Raspberry Pi thermal cameras offer a unique blend of affordability and customization. While professional-grade thermal cameras excel in precision and accuracy, they often come with a hefty price tag. On the other hand, Android thermal cameras provide portability but may lack the robust features found in Raspberry Pi setups.
Advantages of Using Raspberry Pi
The cost-effectiveness of Raspberry Pi thermal cameras makes them an attractive option for DIY enthusiasts and professionals alike. By leveraging affordable components and open-source software, users can build custom solutions tailored to their specific needs. This flexibility extends to customizability, allowing individuals to modify their setups for various applications without breaking the bank.
Applications and Benefits
Industrial Applications
Predictive Maintenance
In industrial settings, predictive maintenance plays a crucial role in preventing unexpected equipment failures. By utilizing thermal infrared cameras, maintenance teams can identify potential issues before they escalate, saving both time and resources. The ability to detect temperature anomalies in machinery allows for targeted interventions, ensuring optimal performance and longevity of critical assets.
Electrical Inspections
When it comes to electrical inspections, safety is paramount. Thermal cameras provide a non-invasive method for identifying overheating components in electrical systems, highlighting potential fire hazards or faulty connections. By conducting regular thermal scans, technicians can pinpoint areas of concern and address them proactively, minimizing the risk of electrical malfunctions.
Building Diagnostics
Energy Efficiency
Efficient energy usage is a key consideration in modern building design and operation. Thermal imaging technology offers a comprehensive approach to assessing energy efficiency by visualizing heat loss and insulation effectiveness. By conducting thermal audits, building managers can identify areas of energy wastage and implement targeted improvements to enhance overall sustainability.
Structural Analysis
In the realm of structural analysis, thermal cameras provide valuable insights into the integrity of buildings and infrastructure. By detecting temperature variations on surfaces, these cameras can reveal hidden defects such as moisture infiltration or structural weaknesses. This non-destructive testing method enables engineers to assess structural health without invasive procedures, ensuring the safety and durability of built environments.
Medical and Safety Uses
Medical Diagnostics
The application of thermal imaging technology extends beyond industrial settings into the realm of medical diagnostics. Thermal cameras can assist healthcare professionals in identifying inflammation, circulatory issues, or abnormal tissue growth through temperature variations on the skin's surface. This non-invasive approach complements traditional diagnostic methods, offering additional insights for early detection and treatment planning.
Firefighting and Rescue Operations
In emergency situations such as firefighting and rescue operations, thermal infrared cameras are indispensable tools for locating individuals in low visibility conditions or detecting hotspots within structures. By capturing heat signatures in real-time, firefighters can navigate hazardous environments more effectively and prioritize their rescue efforts based on thermal data. These devices enhance operational efficiency and contribute to successful outcomes in challenging scenarios.
DIY Guide
Building a Raspberry Pi Thermal Camera
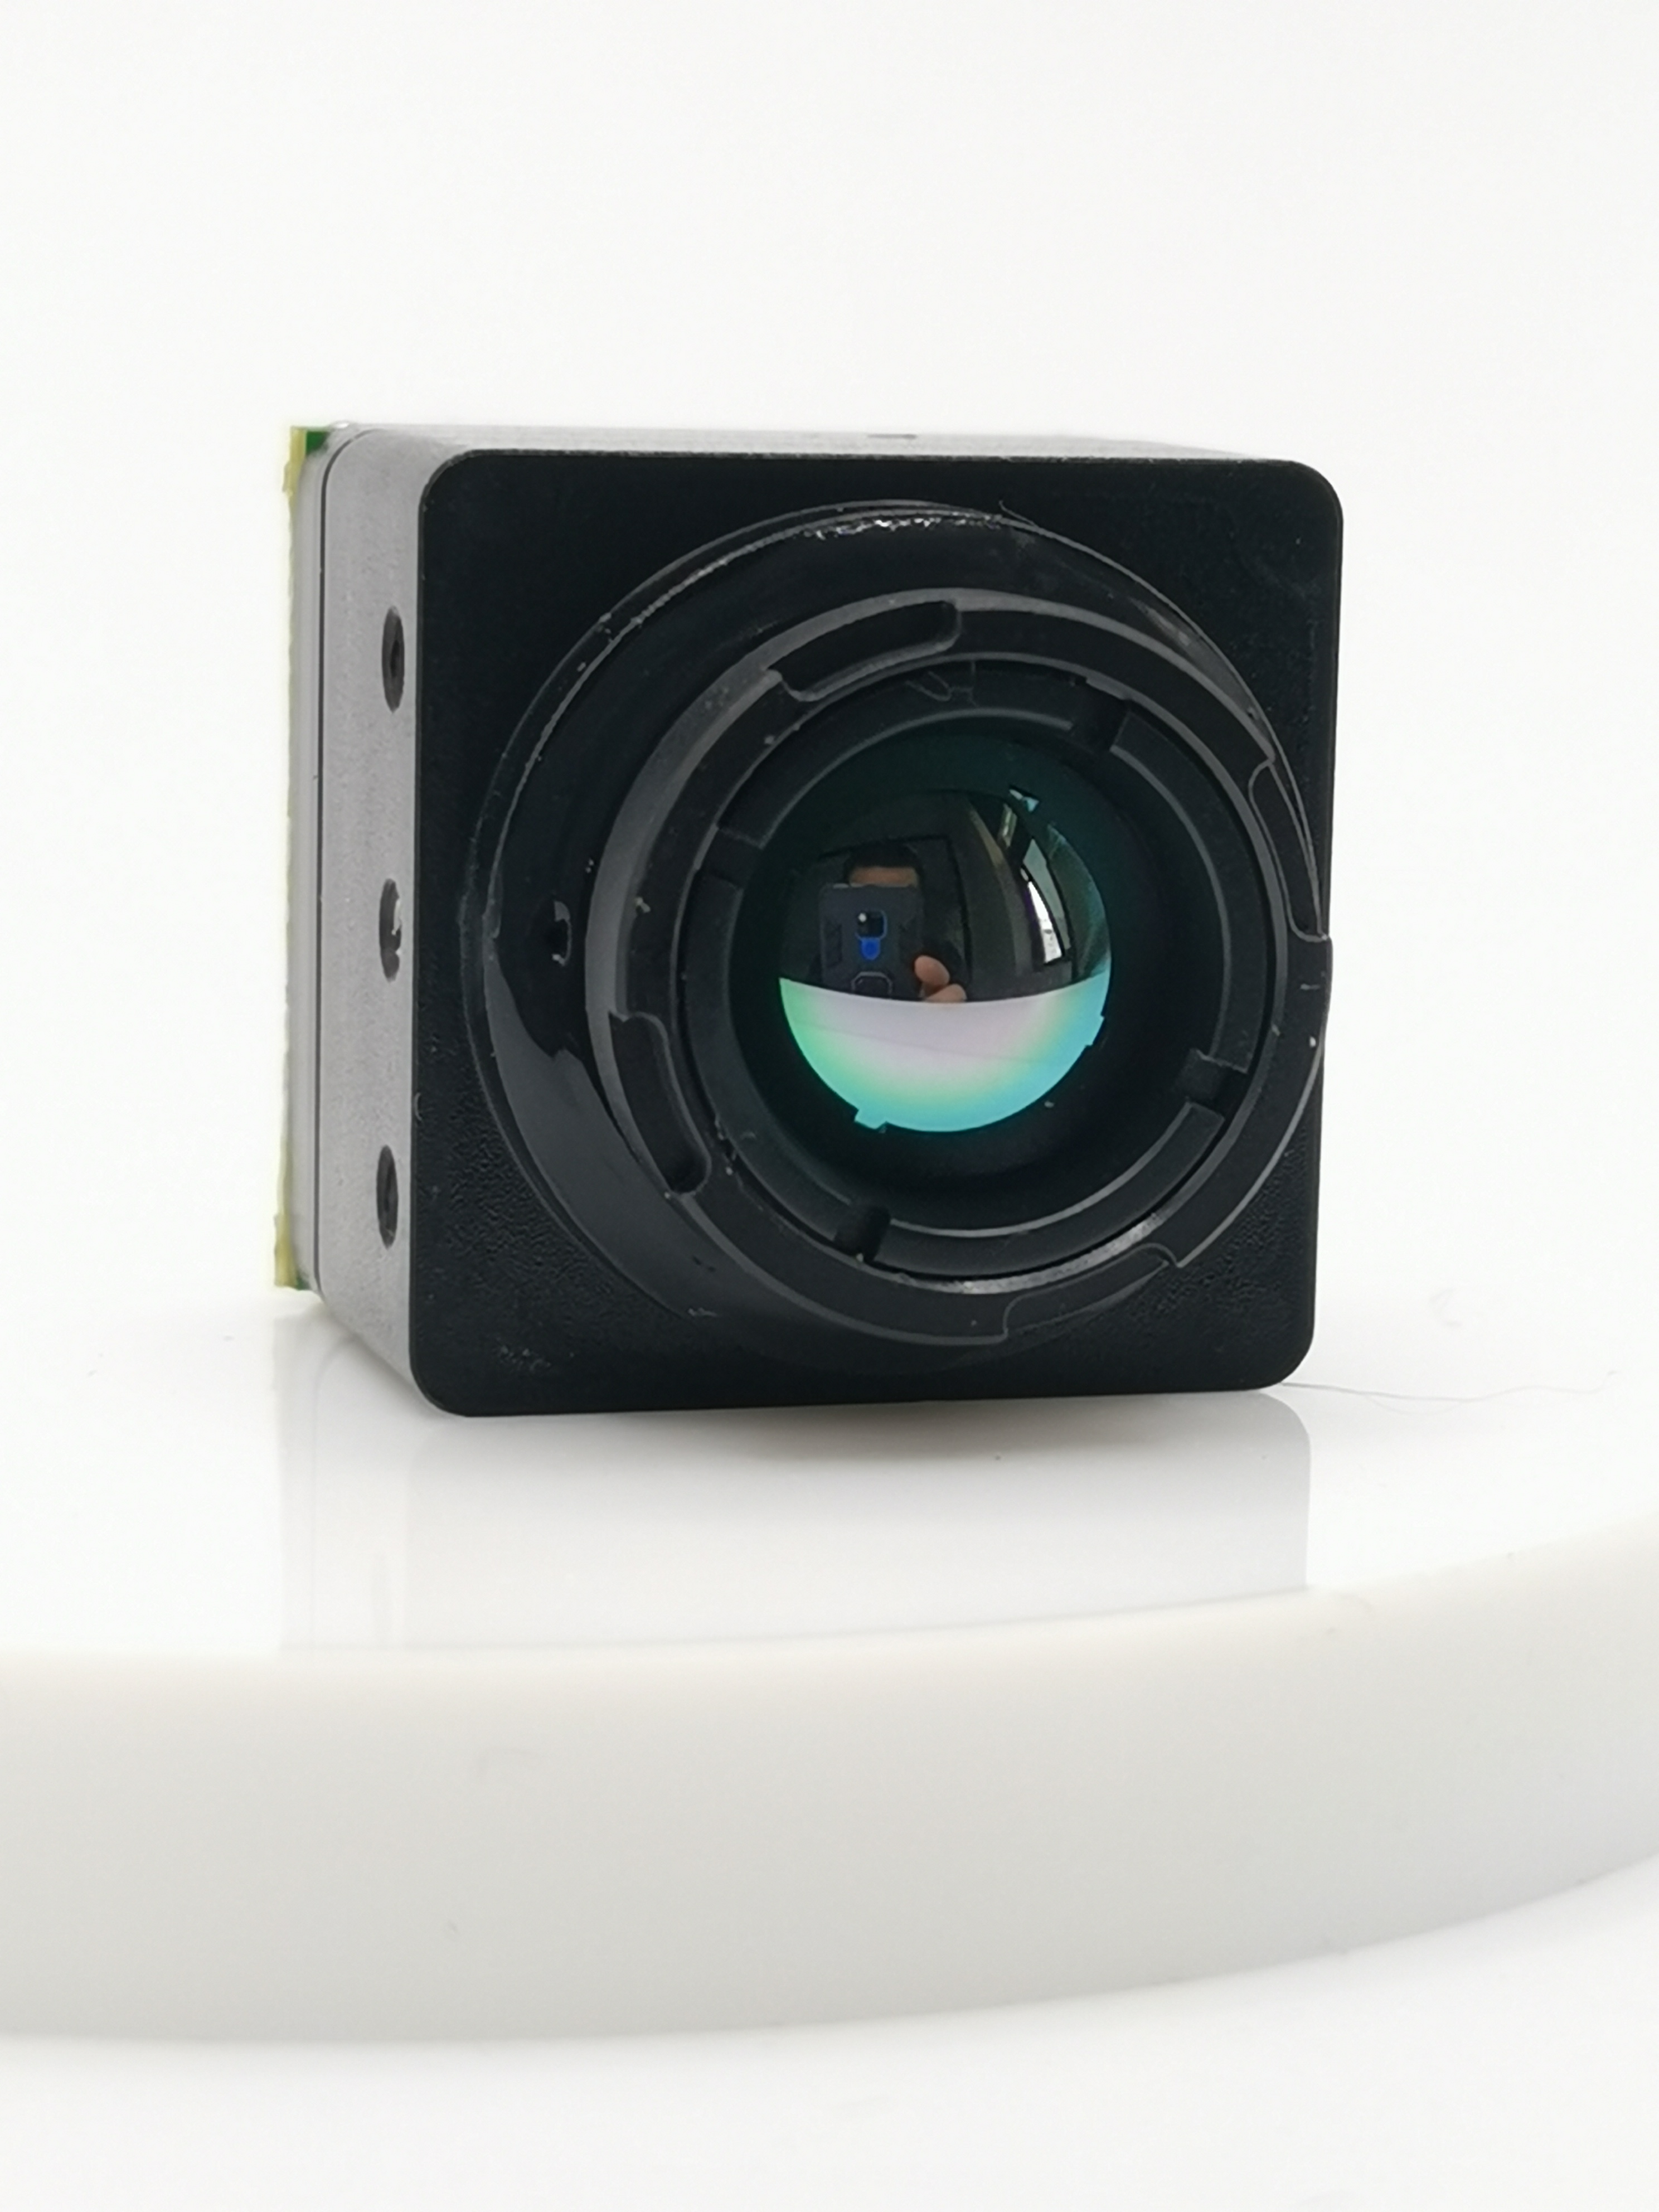
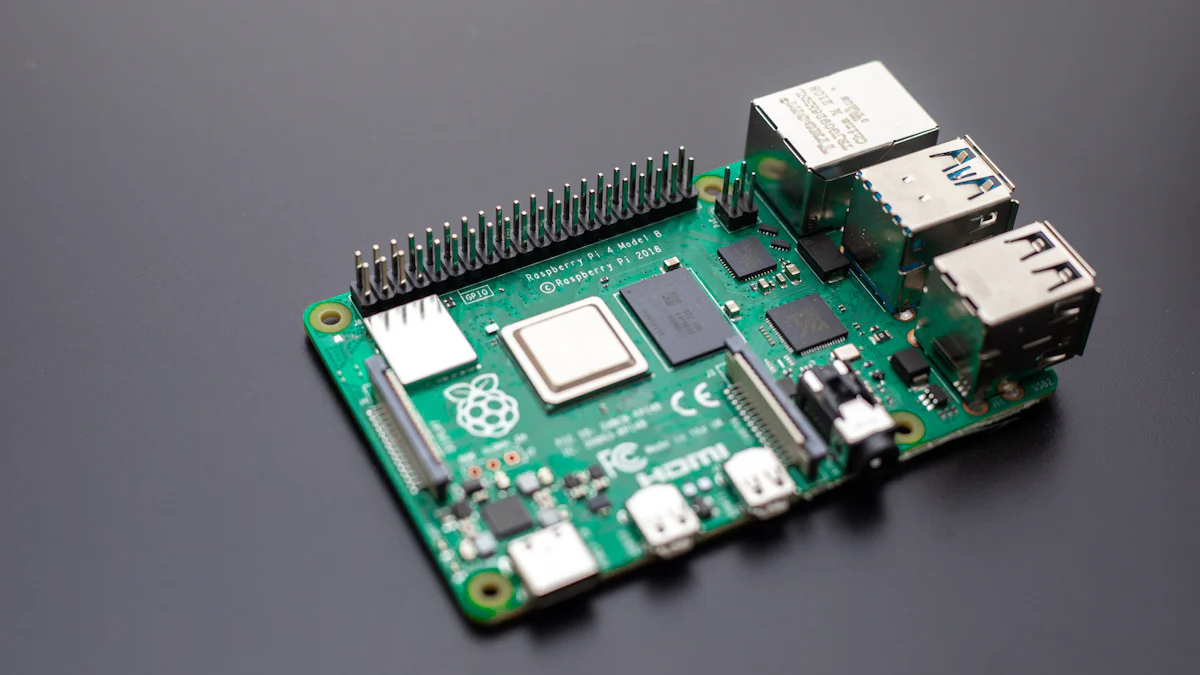
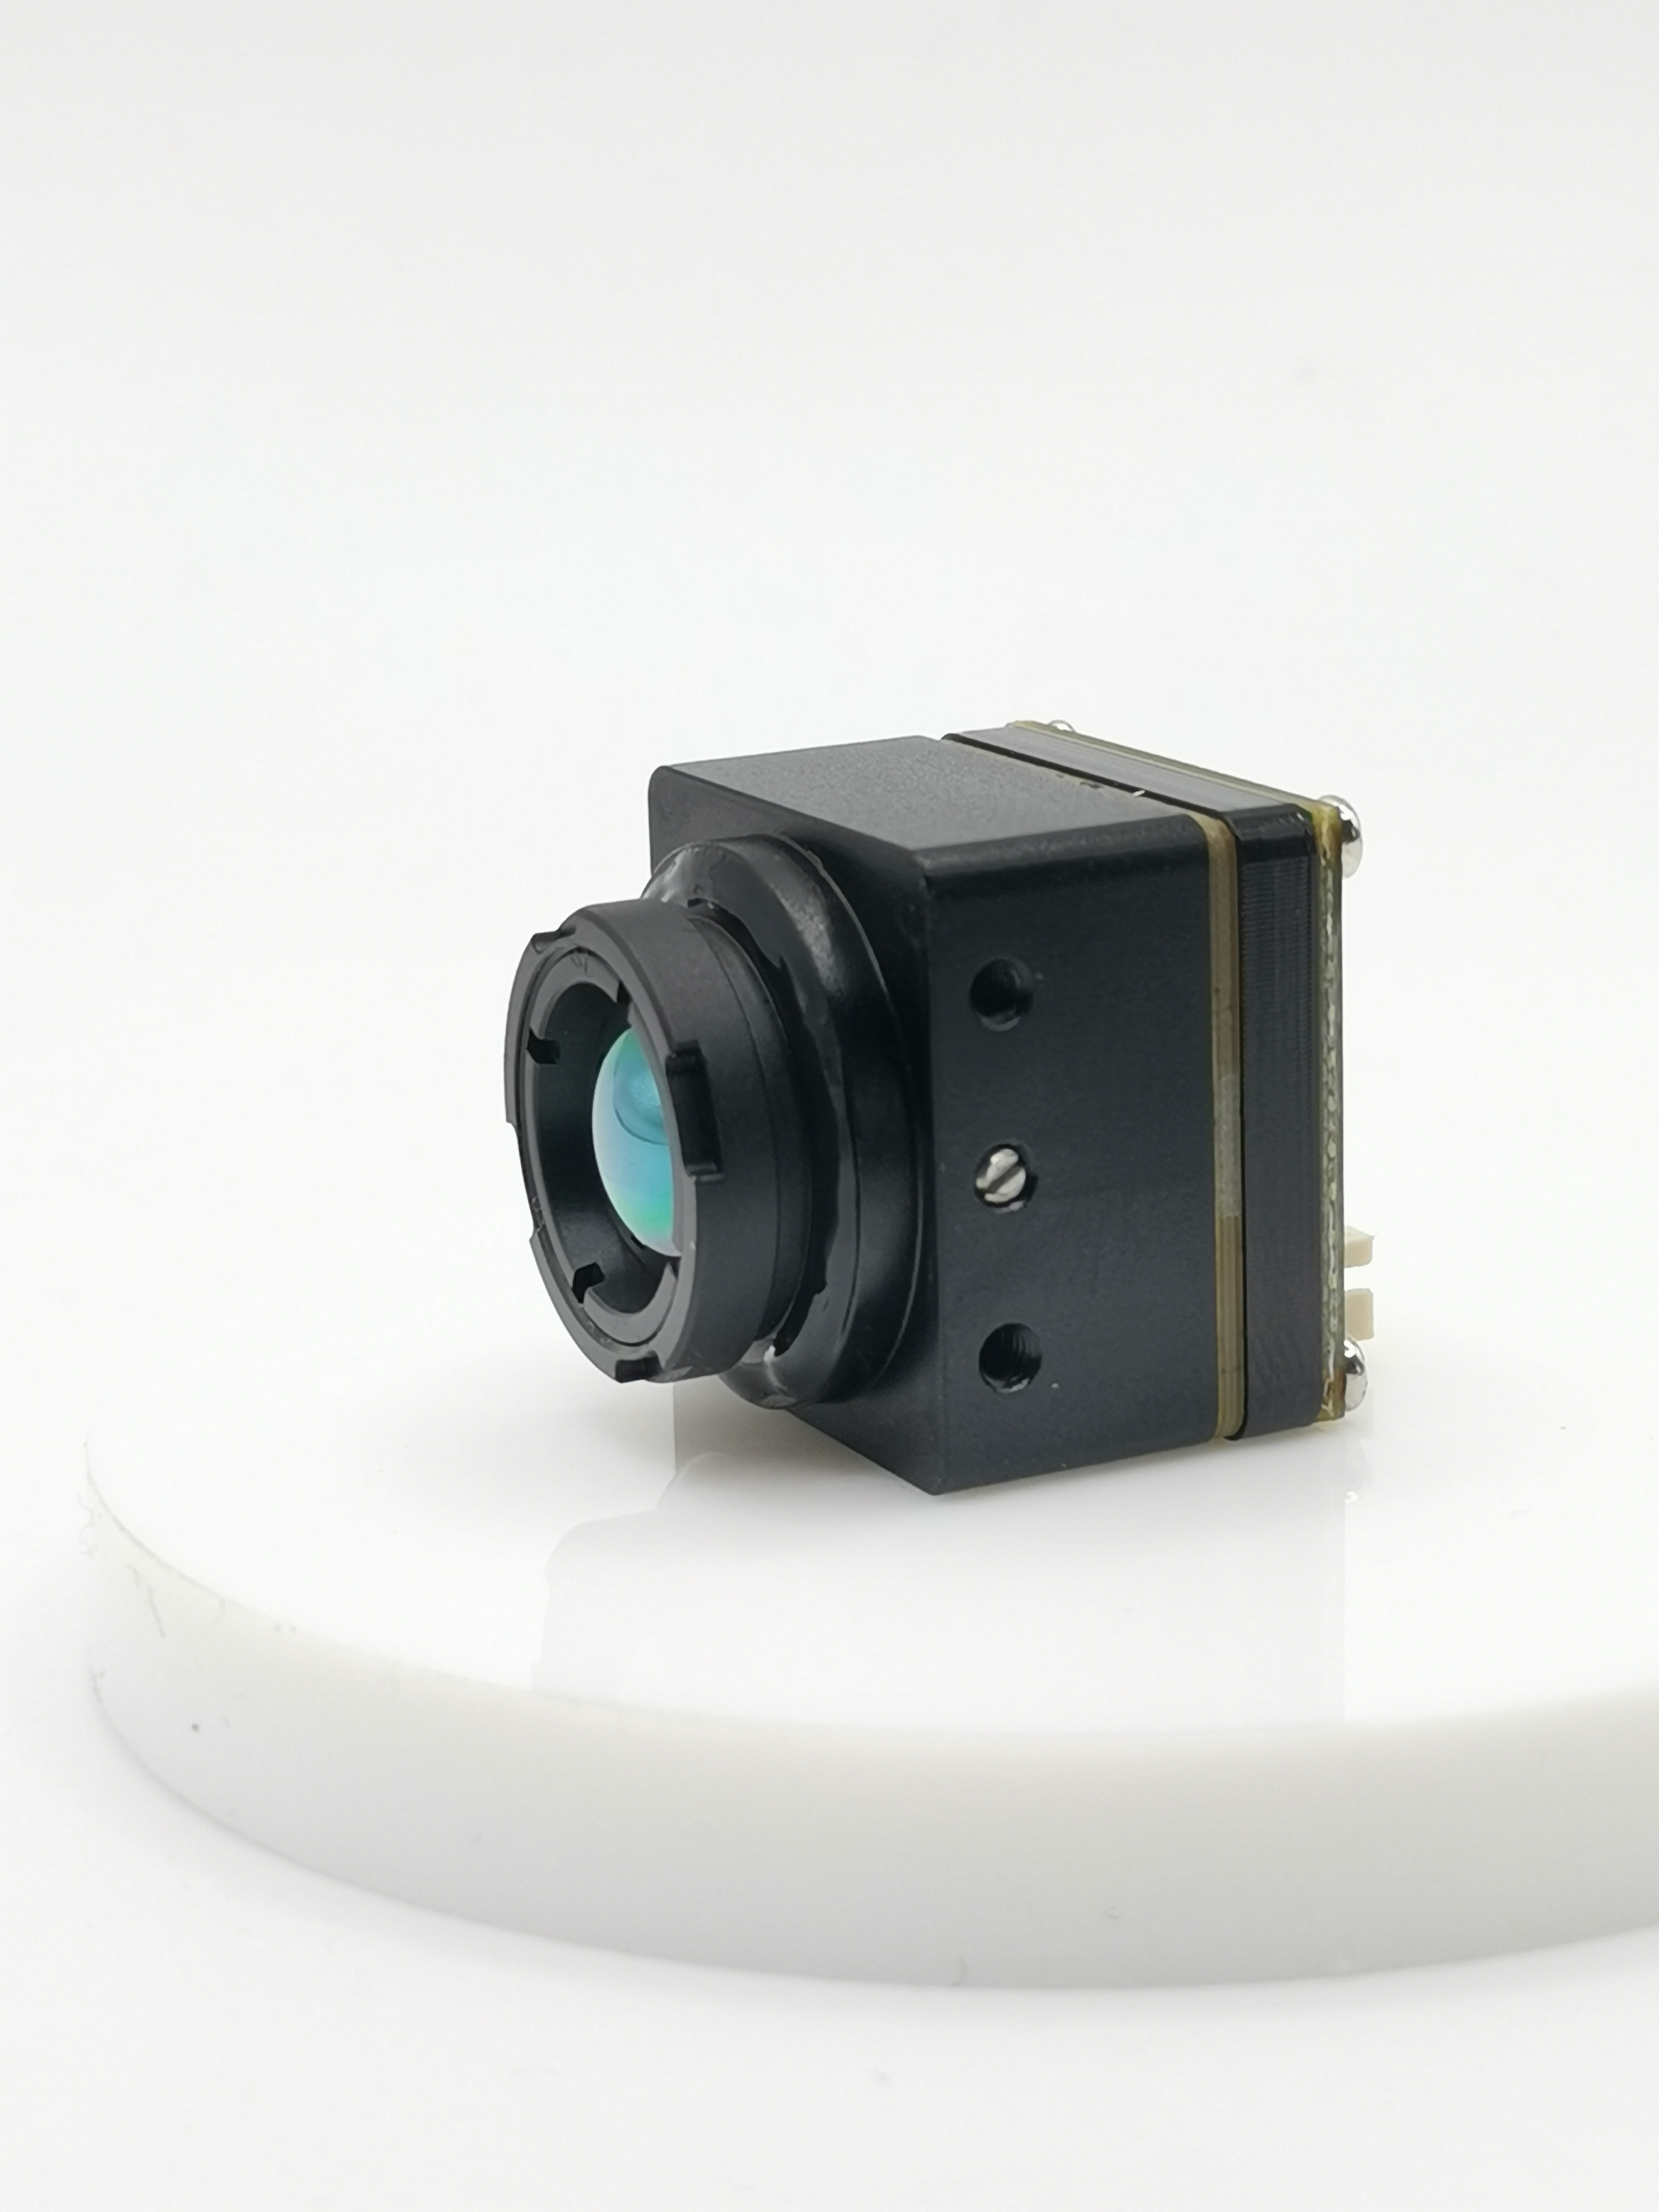
To embark on the journey of building a Raspberry Pi thermal camera, one must gather the necessary materials to bring this innovative device to life. The MLX90640 IR thermal camera serves as the key component, enabling users to capture the relative temperature and shape of objects by simply placing them in front of the camera. This IR thermal camera seamlessly connects with Raspberry Pi 4 via the I2C interface, allowing for the transfer of data from the camera to the Raspberry Pi board. Once these data are received, Raspberry Pi 4 processes them and converts them into pixels, culminating in a vivid thermal image displayed on the Raspberry Pi screen.
Required Materials
MLX90640 IR thermal camera
Raspberry Pi 4 board
I2C interface connectors
Display monitor
Step-by-Step Instructions
Assemble all components in a well-lit workspace.
Connect the MLX90640 IR thermal camera to Raspberry Pi 4 using the I2C interface.
Power up your Raspberry Pi board and ensure it is running smoothly.
Calibrate your thermal camera settings for optimal performance.
Capture images using your DIY Raspberry Pi thermal camera setup.
Analyze temperature variations and explore the world of thermal imaging.
Practical Tips and Troubleshooting
When delving into the realm of DIY thermal cameras, it's essential to be prepared for common issues that may arise during setup or operation.
Common Issues
Calibration Challenges: Ensure proper calibration of your thermal camera to achieve accurate temperature readings.
Connection Problems: Check all connections between components to avoid signal disruptions.
Image Distortion: Address any image distortion issues by adjusting settings and positioning.
Optimization Tips
To enhance the performance of your DIY Raspberry Pi thermal camera, consider implementing these optimization tips:
Software Updates: Regularly update software and firmware to access new features and improvements.
Temperature Range Calibration: Fine-tune temperature range settings for precise readings.
Lighting Conditions: Optimize lighting conditions for better image quality and accuracy.
As we conclude this guide on building a DIY thermal camera with Raspberry Pi, remember that this endeavor opens up a world of possibilities in thermal imaging technology. By embracing innovation and exploring new projects, you can continue to expand your knowledge and skills in this dynamic field.
Recognizing the boundless potential and opportunities that lie ahead in the realm of thermal imaging provides a sense of fulfillment and inspiration. Reflecting on the journey and offering encouragement for future projects is essential to continue exploring innovative applications. Embrace the versatility of Raspberry Pi thermal cameras and delve into the world of temperature differentials with confidence. Unveil new horizons by harnessing the power of thermal imaging technology, paving the way for exciting advancements in various industries.
See Also
Creating Your Own Thermal Camera Using Raspberry Pi: Step-by-Step Tutorial
Becoming Proficient in FPV Thermal Camera Tech for Drone Monitoring
Optimizing Drone Monitoring Through FPV Thermal Camera Tech
Improving Drone Imaging by Incorporating Analog FPV Thermal Cameras
Mastering Drone Monitoring: Leveraging Analog FPV Thermal Camera Technology
iSun digitech limited
iSun was established in 2007, specialising in automotive electronics, providing integrated software and hardware solutions. Products include Thermal imaging, Night Vision,Car Multimedia player, LCD Smart Car Key, CarPlay AI Box.

Contact Us: Ms. Coco Huang
E-mail: sales@iasun.cn
WhatsApp/Wechat: +86 13510421923