How to Make a DIY Thermal Imaging Camera at Home

Thermal imaging cameras offer a unique perspective by capturing heat signatures invisible to the naked eye. The significance of these devices lies in their diverse applications, from using an infrared camera to check insulation issues in buildings to exploring the wilderness at night. Today, we delve into the world of thermal imaging and introduce you to a fascinating DIY approach on how to make a thermal imaging camera at home, similar to an infrared camera FLIR.
Materials Needed
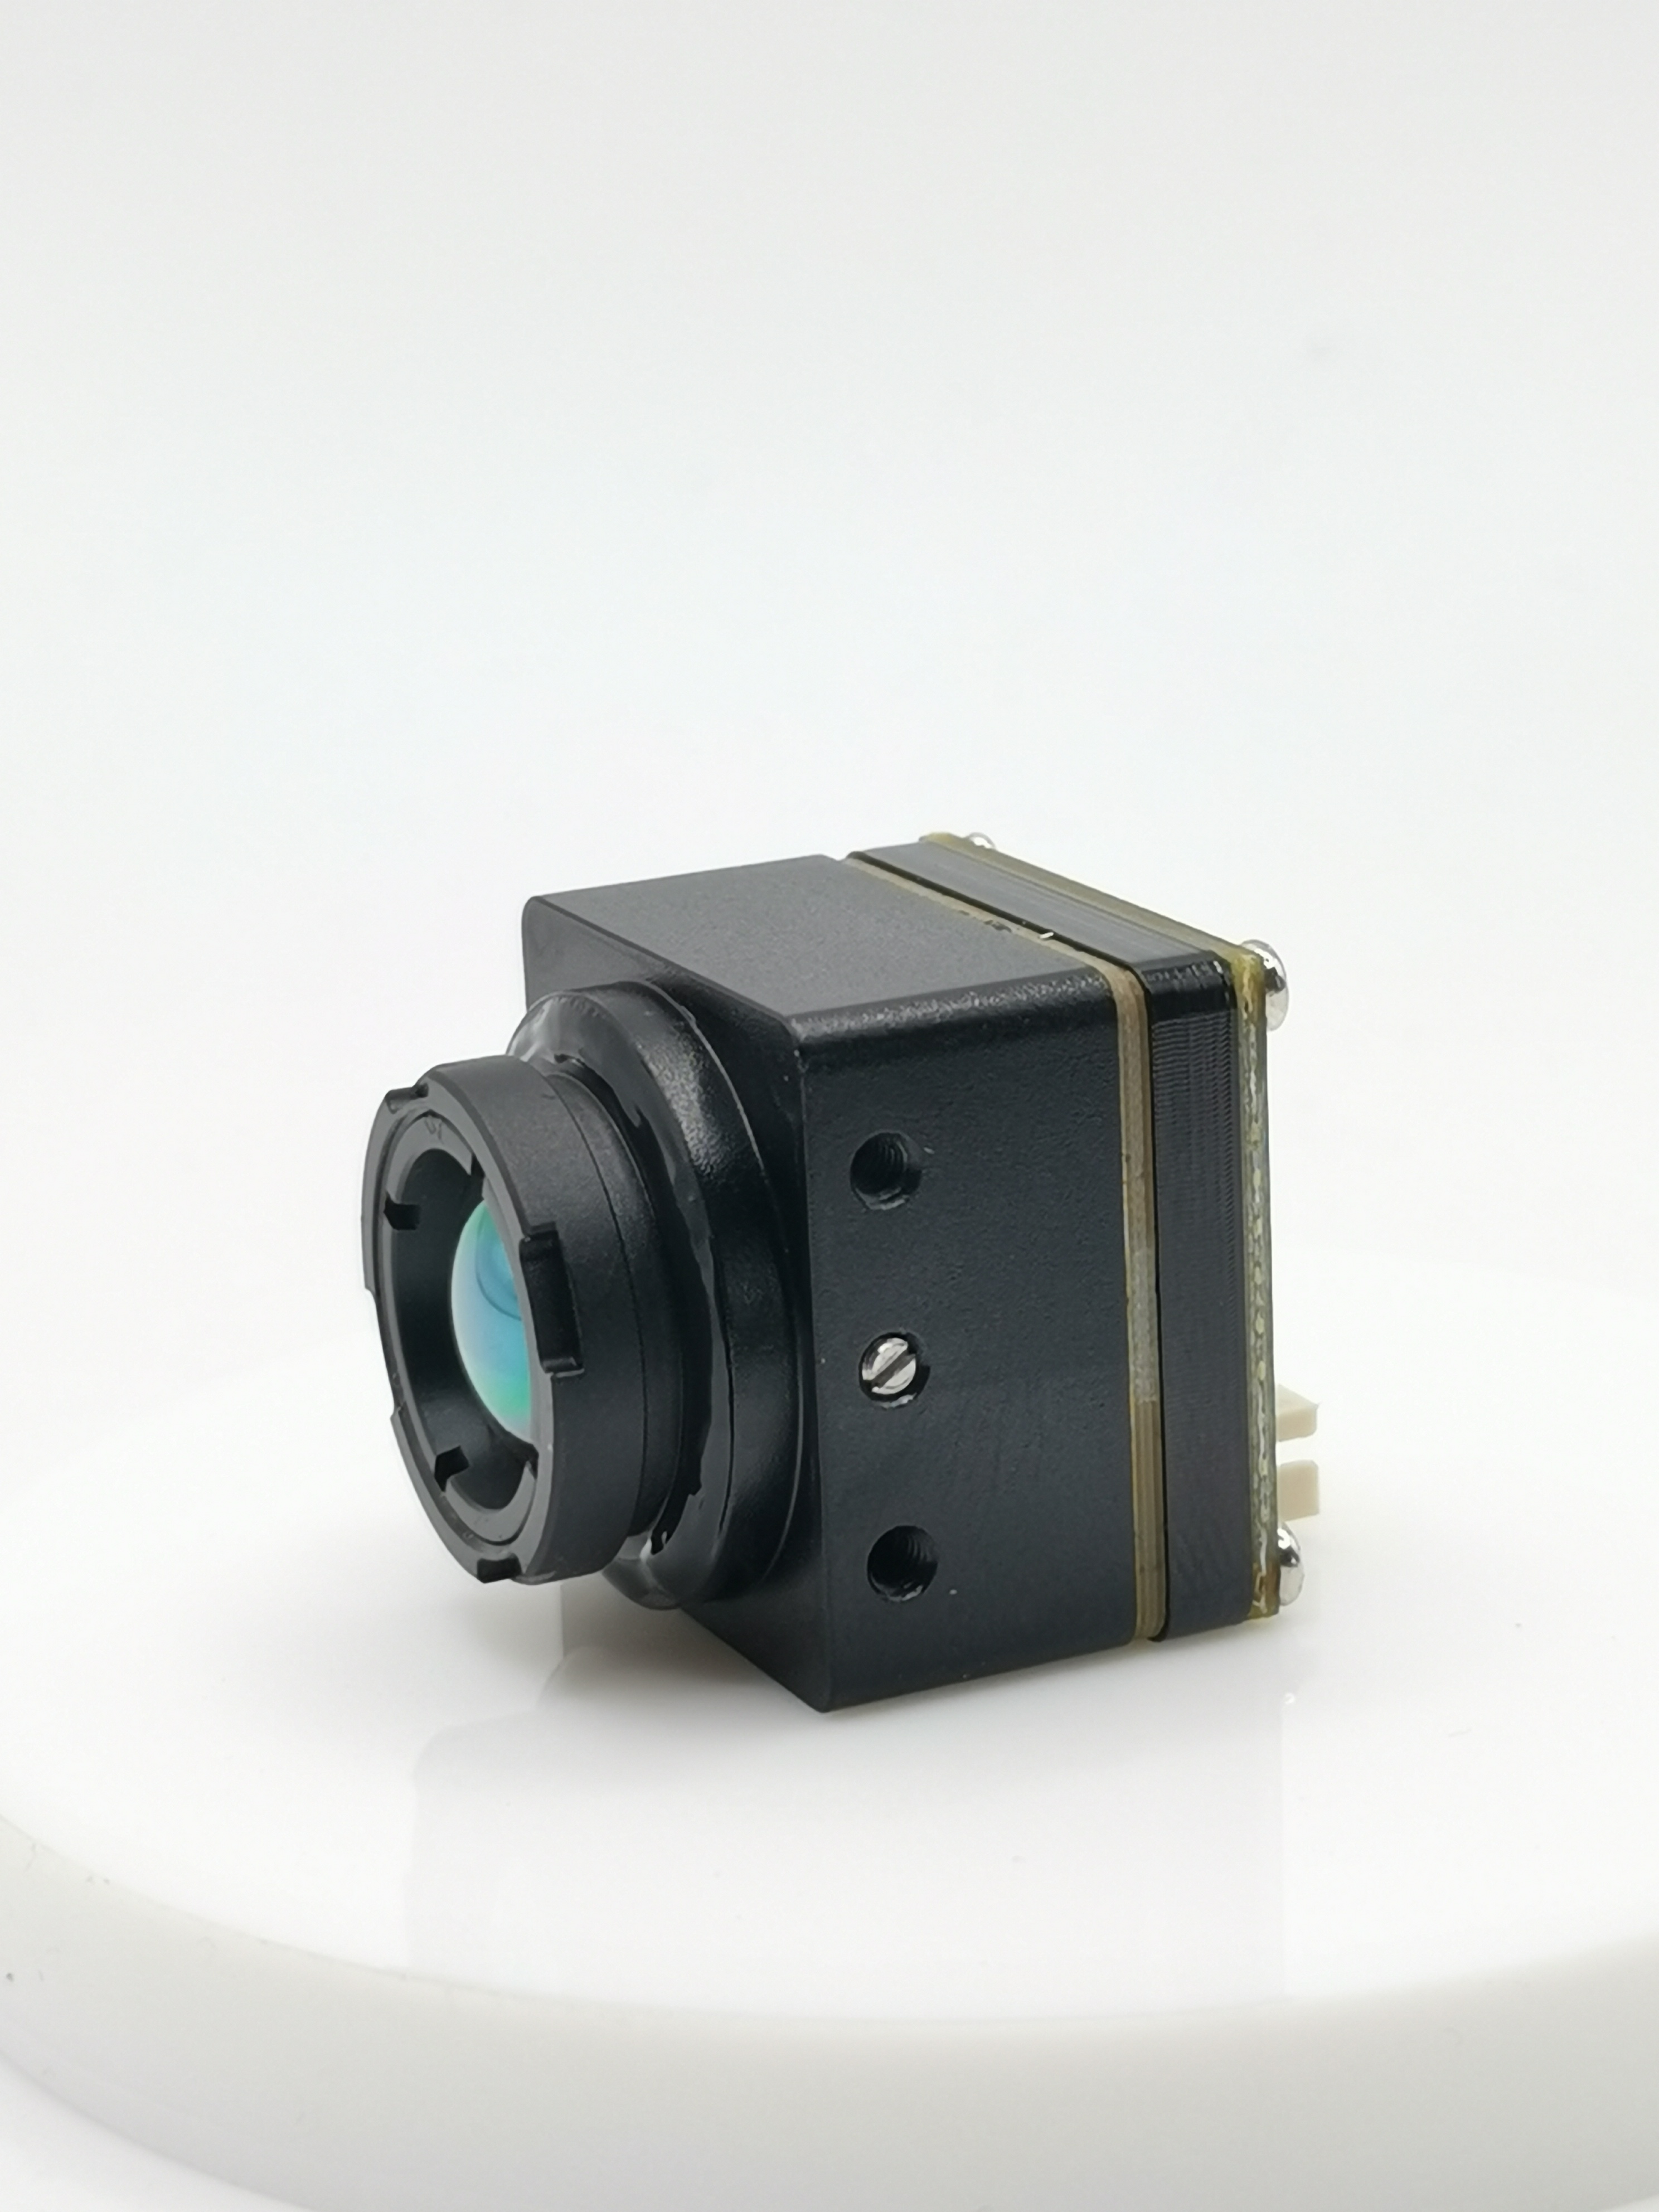
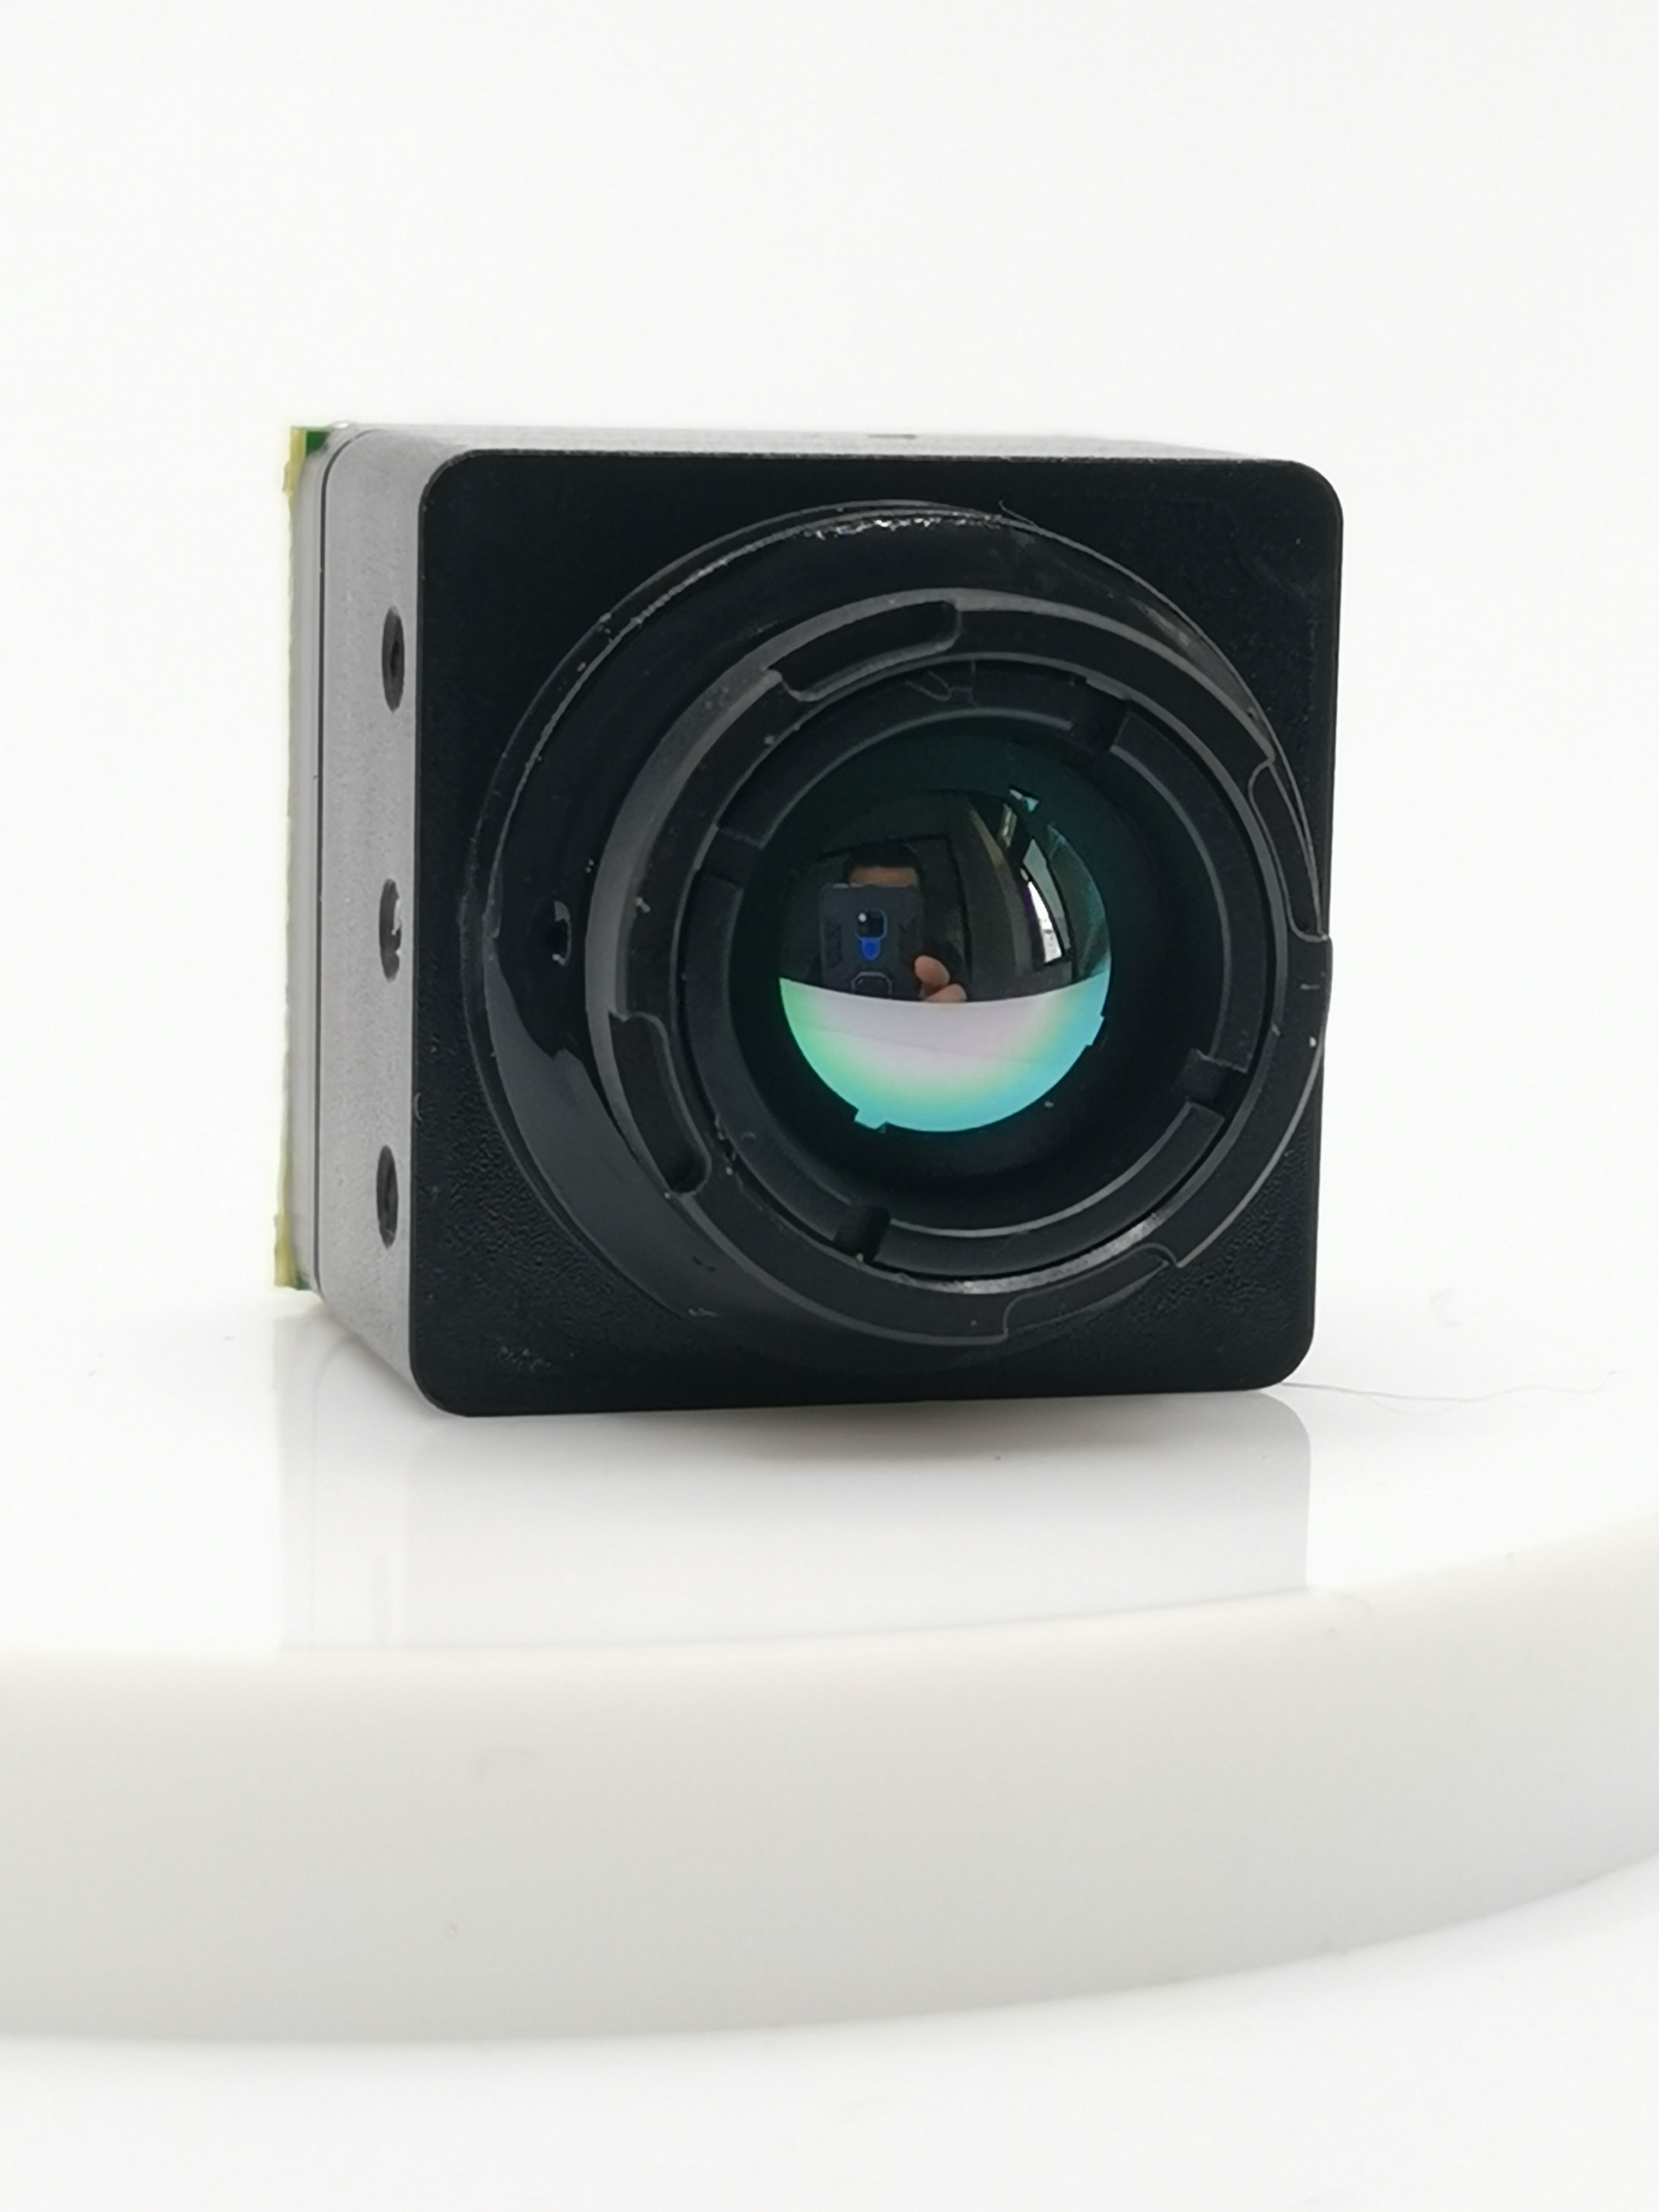
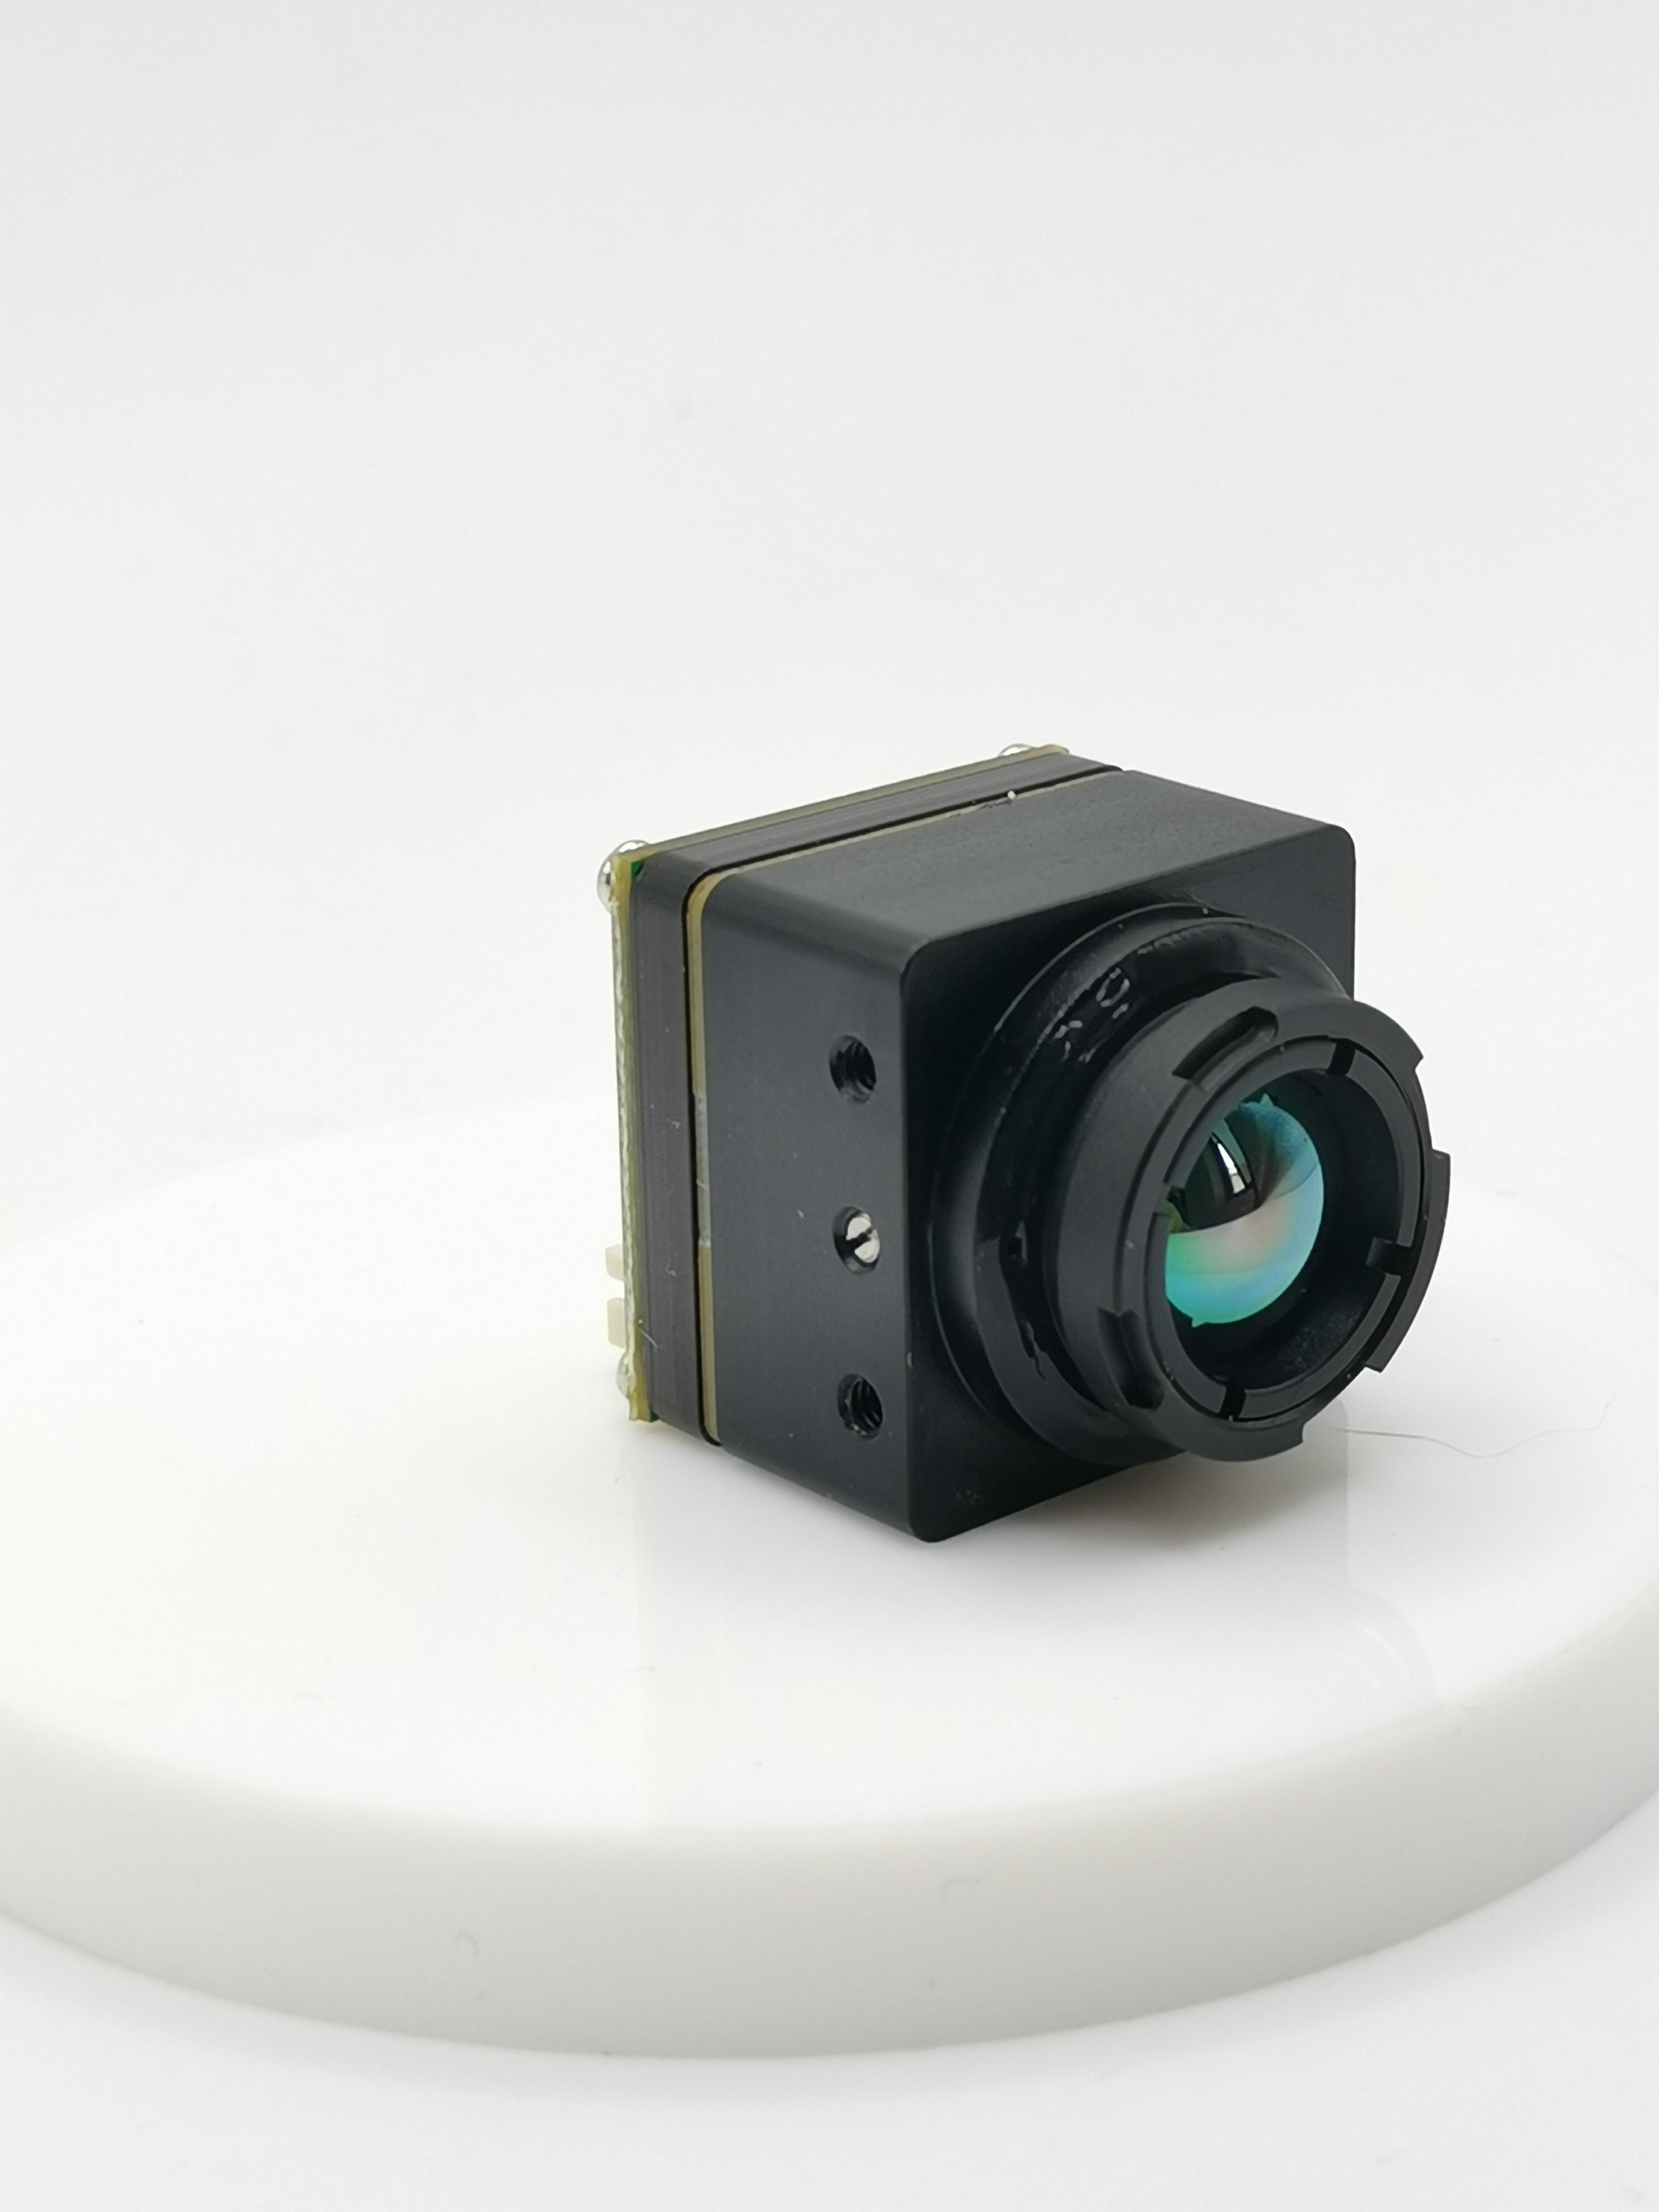
Thermal Sensor
When considering the thermal sensor for your DIY thermal imaging camera, it's essential to understand the different types of sensors available. These sensors vary in their capabilities and specifications, affecting the quality of thermal images produced. By carefully choosing the right sensor, you can ensure optimal performance and accuracy in detecting heat signatures.
Additional Components
Apart from the thermal sensor, several additional components play crucial roles in constructing a functional thermal imaging camera. The lens is responsible for focusing infrared energy onto the sensor, while the processing electronics handle data conversion and image processing. The mechanical housing provides structural support and protection to the internal components, ensuring durability and stability.
Tools Required
To bring all these components together effectively, you'll need specific tools for assembly. A soldering iron will be necessary for connecting electronic parts securely. Additionally, having various screwdrivers on hand will aid in assembling and disassembling different sections of the camera. Lastly, specialized software for image processing is essential for analyzing and interpreting thermal data captured by your DIY camera.
Step-by-Step Guide
Preparing the Camera
Removing the IR Filter
To begin constructing your DIY thermal imaging camera, start by removing the IR filter from a digital camera. This filter blocks out infrared light, which is essential for capturing thermal images. By carefully disassembling the camera and locating the IR filter, you can gently remove it to allow infrared light to pass through effectively.
Installing the Thermal Sensor
Once the IR filter has been removed, proceed with installing the thermal sensor. The sensor is the core component that detects infrared radiation emitted by objects. Position the sensor correctly within the camera housing to ensure it captures accurate thermal data. Securely attach the sensor following any provided guidelines or instructions for optimal performance.
Assembling the Components
Wiring the Electronics
Next, focus on wiring the electronics of your DIY thermal imaging camera. Connect all components, including the thermal sensor and processing electronics, ensuring a stable and functional setup. Proper wiring is crucial for transmitting data efficiently from the sensor to processing units without interference.
Attaching the Lens
With the electronics in place, it's time to attach the lens to your thermal imaging camera. The lens plays a vital role in focusing infrared energy onto the thermal sensor for image capture. Carefully align and secure the lens to optimize image quality and ensure precise detection of heat signatures.
Software Setup
Installing Necessary Software
After assembling all physical components, proceed with installing necessary software for your DIY thermal imaging camera. This software will enable you to process and analyze thermal data captured by your device effectively. Follow installation instructions carefully to set up software that aligns with your project requirements.
Configuring the Camera
Lastly, focus on configuring your camera software settings for optimal performance. Adjust various parameters such as image resolution, color palettes, and temperature scales according to your preferences and project needs. Proper configuration ensures that your DIY thermal imaging camera functions efficiently and delivers accurate results during operation.
Testing and Calibration
Initial Tests
Power up your DIY thermal imaging camera and allow it to initialize.
Adjust the settings to your desired specifications, such as image resolution and color palette.
Point the camera towards various objects with different temperatures to observe how heat signatures are displayed.
Ensure that the thermal sensor accurately captures and translates the infrared radiation into visible images.
Verify that the lens focuses correctly on the thermal sensor for precise detection.
Calibration for Accuracy
Conduct a calibration process to enhance the accuracy of your thermal imaging camera.
Utilize reference objects with known temperatures to calibrate the device accordingly.
Compare the temperature readings from your camera with those of the reference objects.
Make necessary adjustments to align the camera's temperature measurements with the actual values.
Regularly calibrate your DIY thermal imaging camera to maintain its accuracy and reliability in detecting heat variances.
Thermal imaging cameras play a vital role in various fields, including industrial maintenance and home inspections, by detecting anomalies through heat signatures emitted by objects. By conducting thorough testing and calibration procedures, you can ensure that your DIY thermal imaging camera functions optimally, providing accurate thermal data for analysis and evaluation. Calibration is key to maintaining precision in temperature measurements, allowing you to identify potential issues early on and take appropriate actions swiftly based on reliable data sources.
Applications and Uses
Home Inspections
When conducting home inspections using your DIY thermal imaging camera, you can easily check insulation in walls and ceilings. By capturing thermal images of different areas in your home, you can identify heat leaks or poorly insulated regions that may be causing energy loss. The distinct color variations displayed on the thermal images will indicate areas of temperature differences, highlighting potential insulation issues that need attention.
To detect leaks within your home, such as water leaks or air drafts, utilize your thermal imaging camera to scan various surfaces. The camera will reveal temperature irregularities that signify potential leaks, allowing you to address them promptly. Whether it's a hidden water leak behind a wall or a drafty window causing energy waste, your DIY thermal imaging camera serves as a valuable tool for identifying and resolving these issues efficiently.
Night Vision
For night vision purposes, take your DIY thermal imaging camera outdoors to explore the surroundings after dark. Whether you're camping in the wilderness or simply navigating through your backyard at night, the camera's infrared capabilities enable you to see heat signatures clearly in low-light conditions. Use it for outdoor exploration to observe wildlife without disturbing their natural habitat, as animals emit heat that is easily detected by the camera.
Enhance the security of your property by utilizing your DIY thermal imaging camera for security purposes during nighttime surveillance. Monitor key areas around your home for any unusual heat patterns that may indicate potential intruders or wildlife presence. With its ability to detect heat emissions effectively, your thermal imaging camera becomes an essential tool for maintaining security and vigilance during nighttime hours.
Revisiting the journey of creating your DIY thermal imaging camera at home, you've embarked on a fascinating exploration into the world of infrared technology. The process involved meticulous steps from selecting the right components to assembling them with precision. The benefits of owning a thermal imaging camera extend beyond mere curiosity; it empowers you to detect hidden issues early on. I encourage you to embrace this project, as it not only enhances your technical skills but also opens up a realm of possibilities for innovative applications in various fields. Start your DIY adventure today and witness the transformative power of thermal imaging firsthand!
See Also
Creating Your Own Thermal Imaging Device Using Raspberry Pi
Constructing an Analog FPV Thermal Camera for Drone DIYs
Innovations in Small Thermal Camera Technology for Drones
Optimizing Drone Thermal Camera Kit Performance with iSun FPV Camera
iSun digitech limited
iSun was established in 2007, specialising in automotive electronics, providing integrated software and hardware solutions. Products include Thermal imaging, Night Vision,Car Multimedia player, LCD Smart Car Key, CarPlay AI Box.

Contact Us: Ms. Coco Huang
E-mail: sales@iasun.cn
WhatsApp/Wechat: +86 13510421923