Build Your Own Thermal Drone on a Budget

Embarking on the journey of constructing a cheap drone with thermal camera brings forth numerous advantages. Building a DIY drone allows for customization tailored to individual preferences, ensuring a personalized touch to the final product. In contrast to commercial drones with thermal cameras, the cost-effectiveness of this project is unparalleled. Throughout this blog, we will delve into the intricacies of assembling your own DIY drone thermal camera while exploring the essential components required for this endeavor.
Components Needed
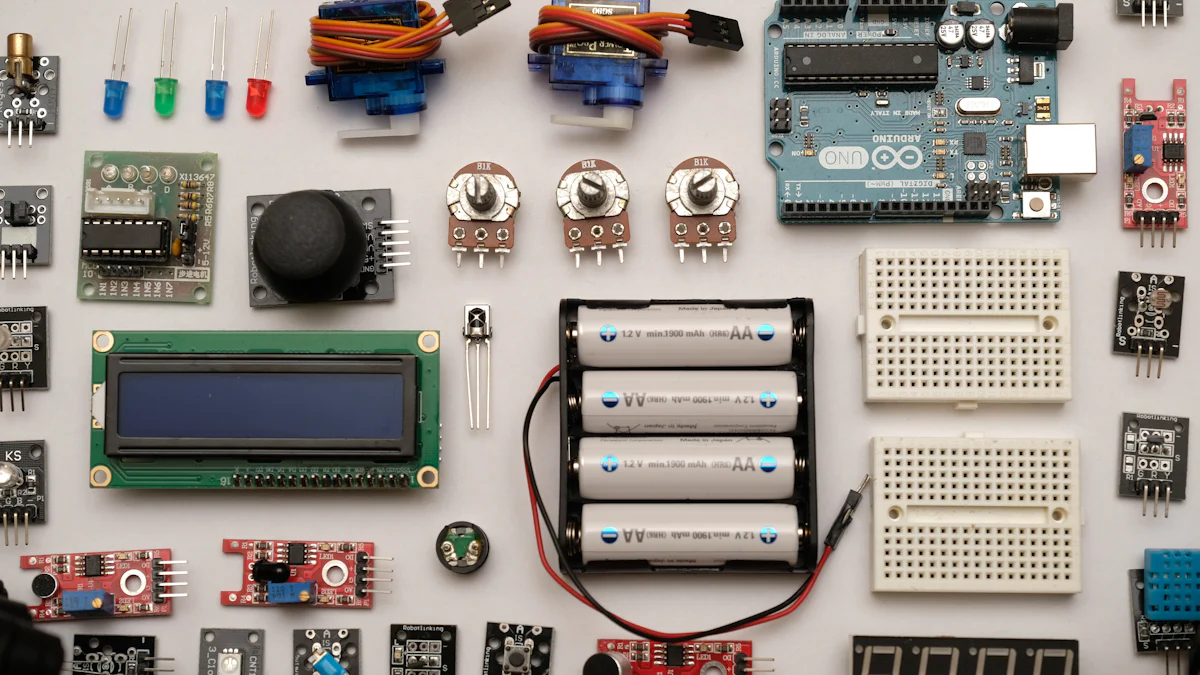
When considering the components required for your DIY drone thermal camera, it is crucial to start with selecting the appropriate frame. The frame serves as the foundation of your drone, providing structural support and stability during flight. For DIY projects, opt for frames specifically designed to accommodate additional equipment like thermal cameras and video systems.
Moving on to the electric propulsion system, focus on meticulously choosing the right motor and battery combination. The motor selection determines the power and efficiency of your drone's flight, while the battery requirements play a vital role in sustaining optimal performance throughout each mission.
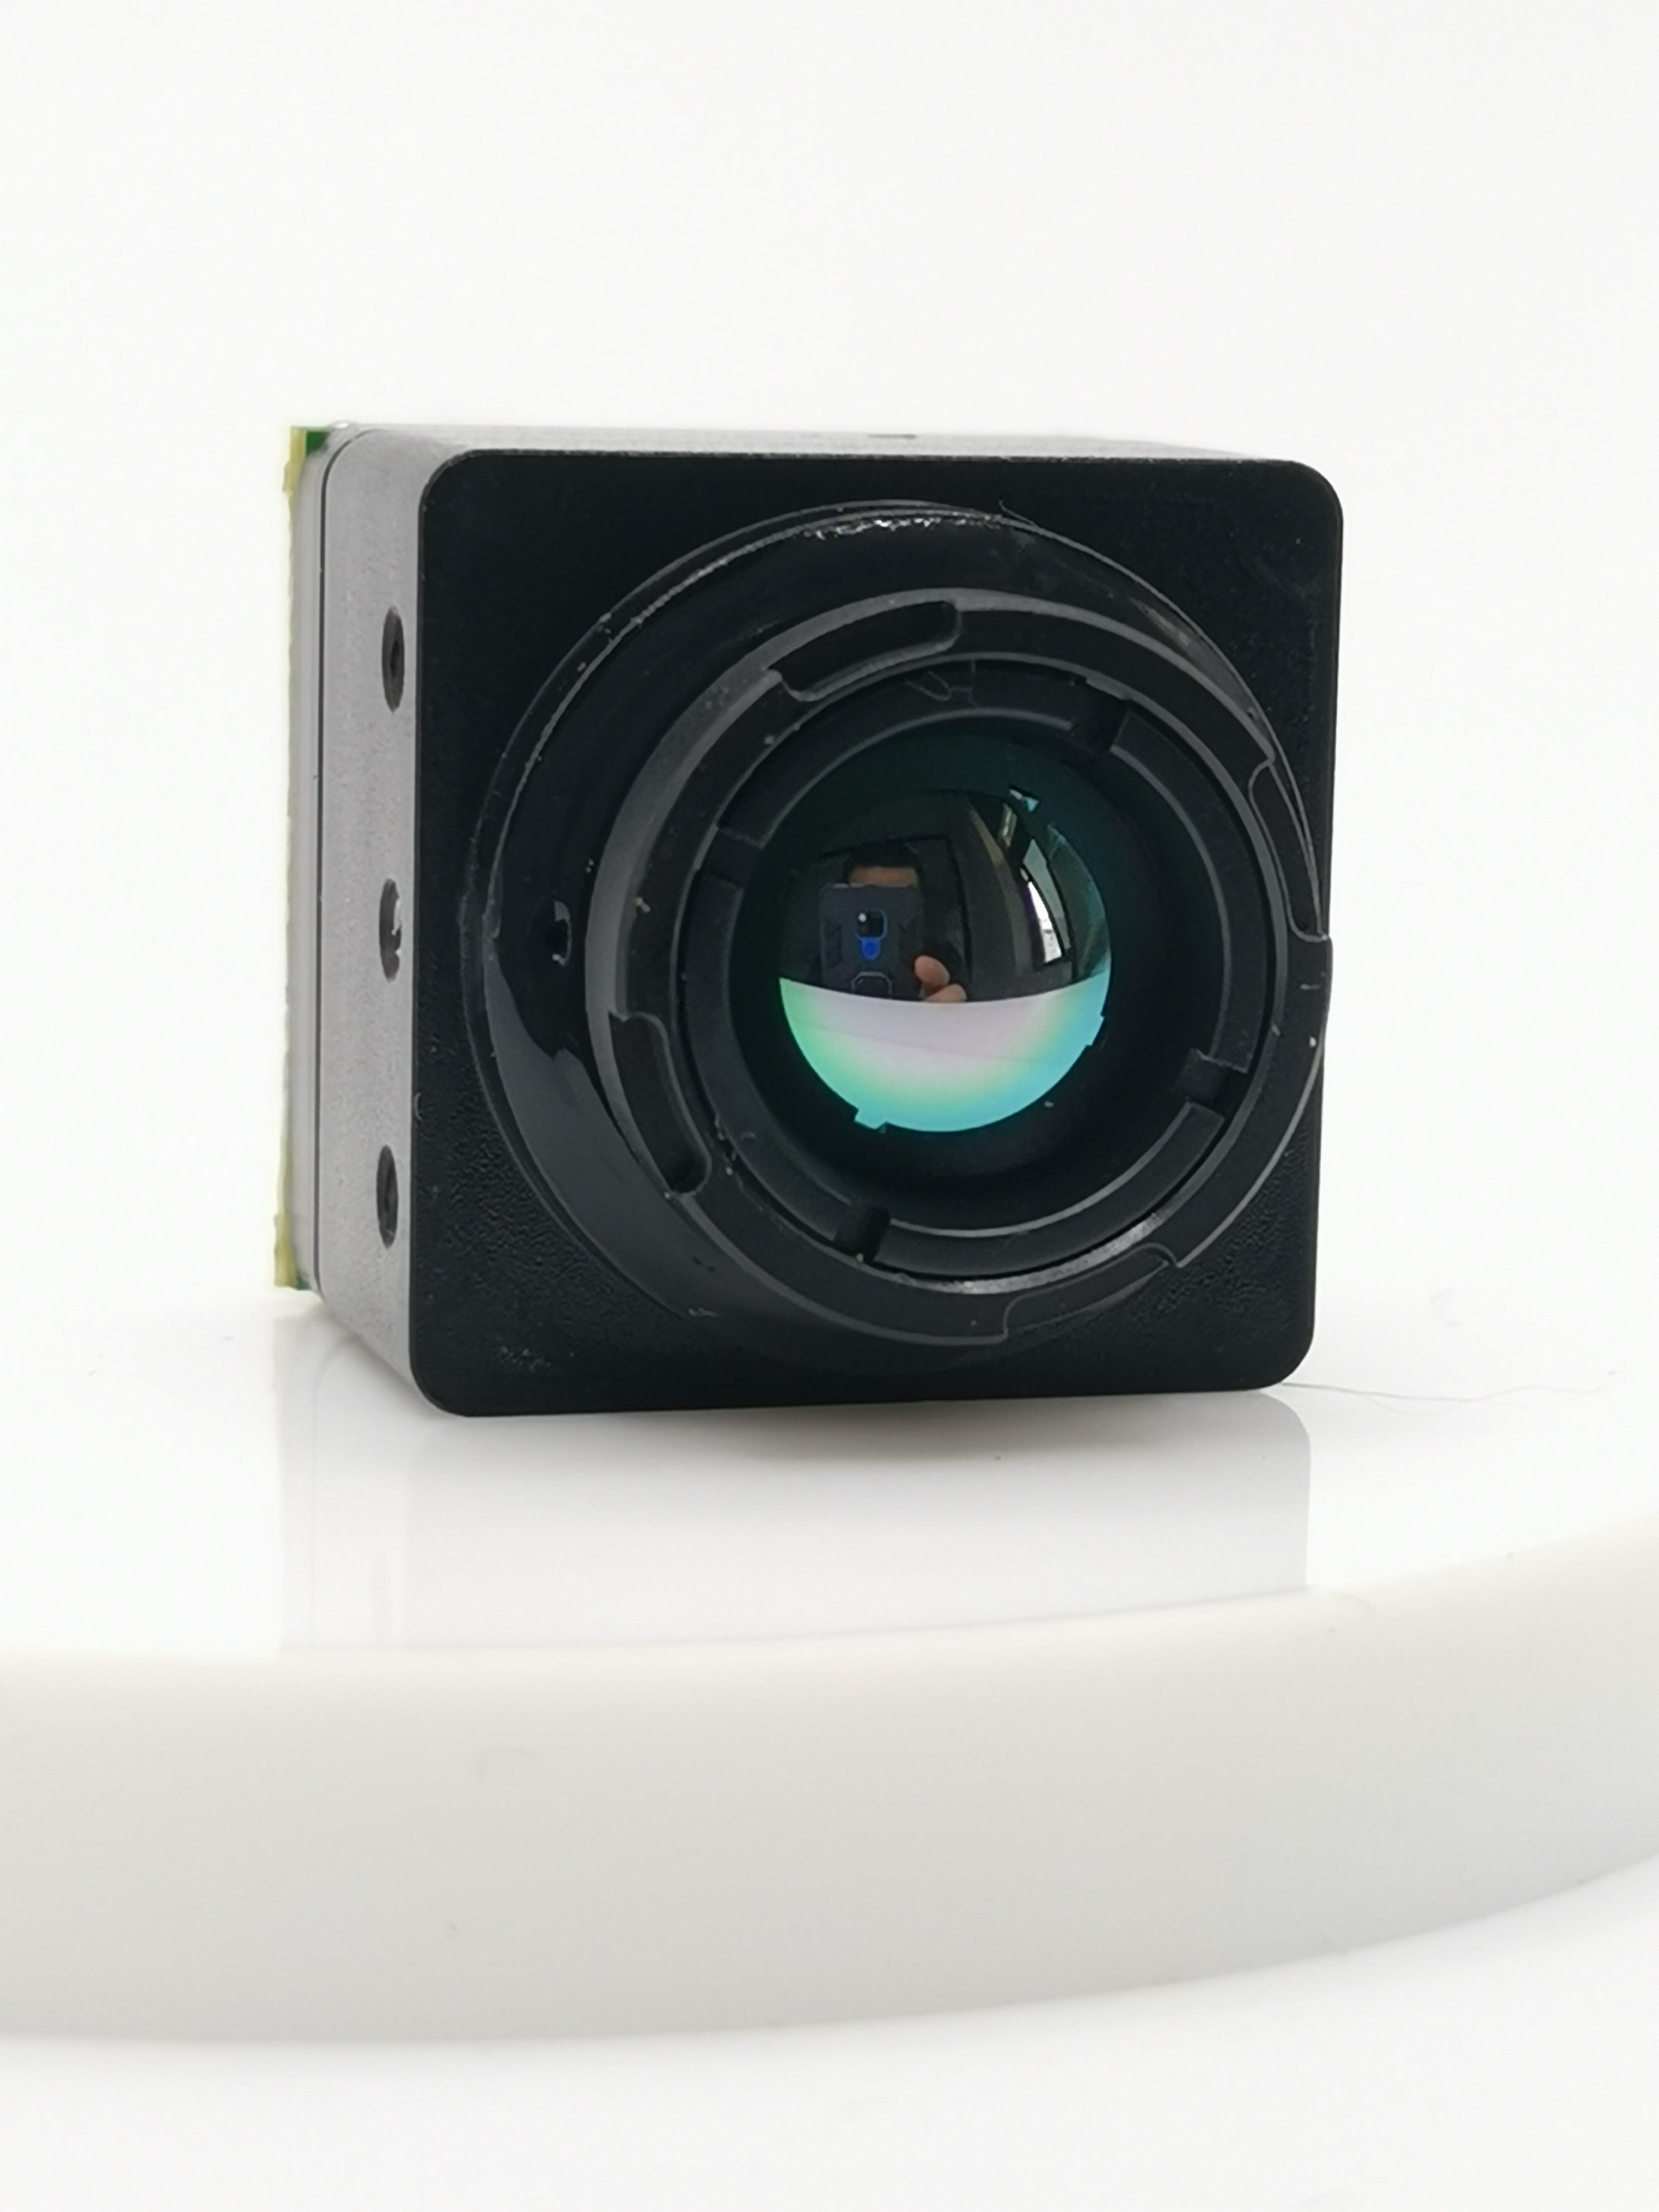
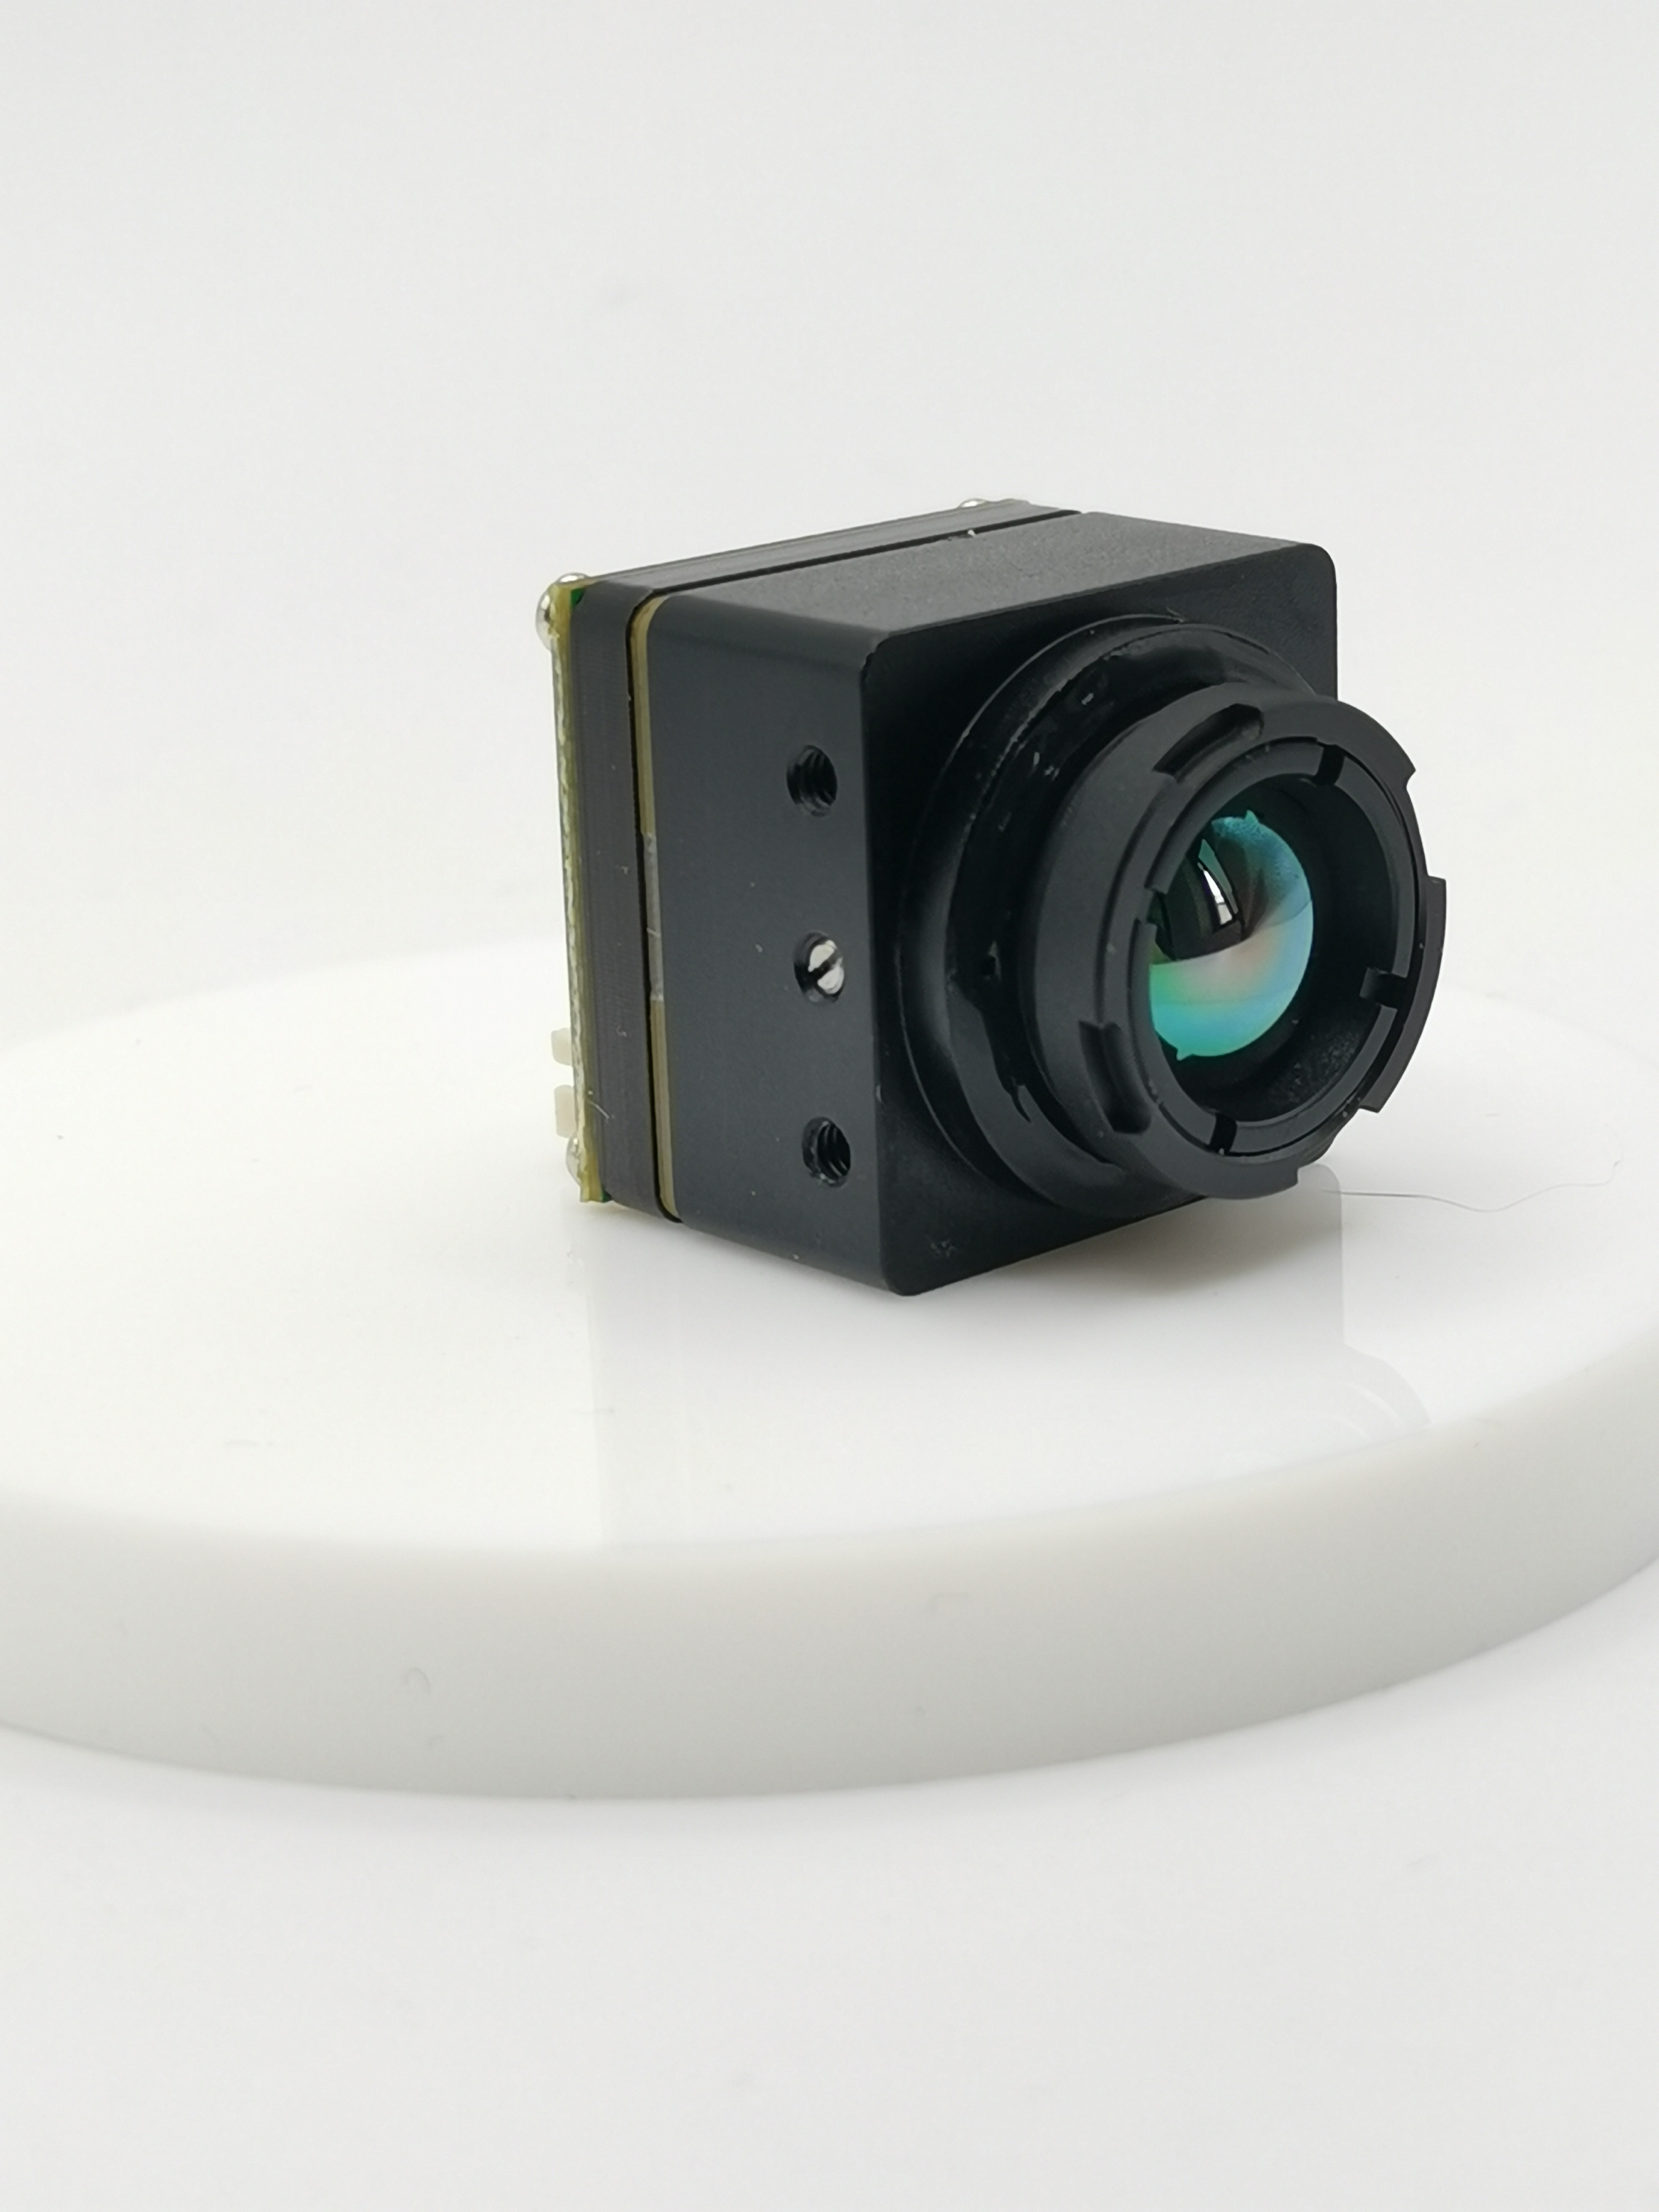
Now, let's delve into one of the key components of this project: the thermal camera. When deciding on a thermal camera, prioritize models with the desired thermal resolution for detailed imaging capabilities. Ensure seamless compatibility with your drone to guarantee smooth integration and functionality.
By carefully considering these essential components, you are laying a solid foundation for constructing a reliable cheap drone with thermal camera that meets your specific needs and budget constraints.
High-Resolution Video Camera
When considering the high-resolution video camera for your DIY drone thermal camera, exploring 8K camera options can significantly enhance the visual quality of your aerial footage. Opting for an 8K camera ensures unparalleled clarity and detail in capturing images and videos during flight missions. The integration of an 8K camera with your thermal camera setup opens up a realm of possibilities for comprehensive data collection and analysis.
To achieve seamless integration with the thermal camera, it is imperative to align the functionalities of both cameras effectively. By synchronizing the operations of the high-resolution video camera with the thermal camera, you can capture synchronized footage that combines visual and thermal imaging seamlessly. This synchronization allows for a holistic view of your surroundings, enabling enhanced monitoring and analysis capabilities during drone operations.
By carefully selecting an appropriate 8K camera and ensuring its harmonious integration with the thermal camera, you are poised to elevate the capabilities of your DIY drone project. The combined power of high-resolution visual imagery and precise thermal data acquisition empowers you to delve deeper into various applications, from aerial inspections to environmental monitoring, with unparalleled clarity and accuracy.
Flight Controller and Transmitter
Ensuring compatibility between the flight controller and transmitter is paramount in guaranteeing smooth operation and control of your cheap drone with thermal camera. The flight controller serves as the central hub for managing the drone's flight dynamics, while the transmitter facilitates communication between the pilot and the drone. Compatibility between these components is essential for seamless data transmission and real-time control during flights.
Embracing smart controller features enhances your overall flying experience by providing advanced functionalities at your fingertips. Smart controllers offer intuitive interfaces, automated flight modes, and enhanced connectivity options that streamline operation tasks and enhance situational awareness during flights. By leveraging these smart features, you can optimize flight performance, ensure precise navigation, and capture exceptional aerial footage effortlessly.
By prioritizing compatibility between the flight controller and transmitter while harnessing smart controller features, you are equipped to navigate diverse environments with confidence. The synergy between these components elevates your drone piloting experience, unlocking new possibilities for aerial exploration and data acquisition.
Assembly Process
Frame Assembly
To commence the assembly process of your DIY drone thermal camera, gather the essential tools required for constructing the frame. Prepare items such as a screwdriver, pliers, and a sturdy work surface to ensure a smooth building experience. With these tools in hand, follow the step-by-step instructions meticulously. Begin by aligning the frame components systematically, securing them with precision to guarantee structural integrity.
Installing the Propulsion System
Transitioning to installing the propulsion system, focus on seamlessly integrating the motor and battery into your drone setup. Position the motor securely within the frame, ensuring proper alignment for optimal performance. Subsequently, connect the battery to power up the system effectively. Pay close attention to wiring and connections, ensuring each component is linked correctly to avoid any operational issues during flight missions.
Integrating the Thermal Camera
As you progress towards integrating the thermal camera into your DIY drone project, prioritize mounting the camera securely onto the frame. Choose a strategic location that maintains balance and stability without obstructing other components. Next, establish a seamless connection between the thermal camera and flight controller. Ensure proper communication channels are established for real-time data transmission and monitoring capabilities.
Adding the Video Camera
Mounting and Wiring
To ensure seamless integration of the high-resolution video camera into your DIY drone thermal camera, meticulous attention to detail is paramount. Commence by selecting a strategic location on the frame for mounting the camera, considering factors such as balance and stability. Securely affix the camera in place, aligning it with precision to optimize its performance during flight missions.
When proceeding with the wiring process, prioritize neat and organized connections to prevent any operational disruptions. Carefully link each component following a systematic approach, ensuring that all wires are correctly connected. By maintaining a structured wiring layout, you guarantee efficient communication between the video camera and other electronic systems within your drone setup.
Syncing with Thermal Camera
Synchronizing the high-resolution video camera with the thermal camera elevates your aerial imaging capabilities to new heights. Establish a harmonious connection between both cameras to enable synchronized operation during flights. By syncing their functionalities effectively, you can capture cohesive visual and thermal footage seamlessly. This synchronization enhances your monitoring and analysis capabilities, providing comprehensive data for various applications.
Testing and Calibration
Initial Test Flights
Upon completing the assembly of your DIY drone with thermal camera, it is imperative to initiate the initial test flights to evaluate its performance and functionality. These test flights serve as crucial milestones in validating the structural integrity and operational capabilities of your custom-built drone. By conducting these flights in a controlled environment, you can meticulously observe how the drone maneuvers through different flight scenarios.
During the controlled environment testing phase, focus on assessing the stability and functionality of your DIY drone with precision. Monitor how the drone responds to various commands and maneuvers, ensuring that it maintains steady flight patterns throughout the testing process. By scrutinizing its stability under different conditions, you can identify any potential areas for improvement or optimization before advancing to more complex missions.
Calibrating the Thermal Camera
As you progress from test flights to operational deployments, calibrating the thermal camera becomes paramount for ensuring accurate thermal imaging results. Implement regular testing procedures to fine-tune the camera settings and optimize its performance during aerial missions. By adhering to systematic calibration processes, you can enhance the overall quality and reliability of thermal imaging data captured by your DIY drone.
The calibration procedures aim to guarantee precise thermal imaging outputs by eliminating any discrepancies or inaccuracies in temperature readings. Through meticulous calibration practices, you can align the thermal camera's sensor parameters effectively, ensuring consistent and reliable thermal data acquisition during each flight mission. This attention to detail enhances the overall effectiveness of your drone's thermal imaging capabilities, enabling you to capture detailed thermal information with unparalleled accuracy.
By focusing on regular testing procedures and meticulous calibration practices, you establish a solid foundation for achieving optimal performance from your DIY drone with a thermal camera. The emphasis on accuracy and consistency in thermal imaging not only enhances data quality but also elevates the overall efficiency of your aerial operations. As you delve into real-world applications of thermal imaging technology, calibrated systems play a pivotal role in delivering reliable insights for diverse industries ranging from infrastructure development to environmental monitoring.
Incorporating these testing and calibration processes into your DIY drone project underscores a commitment to excellence in aerial data acquisition. By prioritizing precision and reliability in thermal imaging outputs, you pave the way for leveraging advanced technologies like drone mapping and 3D modeling effectively. As seen in successful projects such as The Crown Bridges Light Rail project (Kruunusillat) in Helsinki utilizing Pointscene technology for bridge construction, accurate calibration processes are fundamental in achieving groundbreaking results through innovative drone applications.
Remember, each test flight and calibration session brings you closer to unlocking the full potential of your DIY drone with a thermal camera. Embrace these essential steps as opportunities for learning and refinement, propelling your aerial endeavors towards new heights of success and innovation.
Reflect on the journey of constructing your DIY drone with a thermal camera, from selecting components to testing and calibration.
Building a thermal drone offers unparalleled customization and cost-effectiveness compared to commercial options.
Take the first step towards this exciting project, unlocking endless possibilities in aerial data acquisition and exploration.
Case Studies:
Pahkakoski Wind Farm, Finland
Improved plan updates and communication with reality capture data.
Integration of video cameras with thermal cameras enhanced infrastructure construction efficiency.
Jokeri Light Rail
Delivering aerial information faster with high resolution imagery.
Integration of video cameras with thermal cameras optimized construction site monitoring.
Let your DIY drone journey begin today, paving the way for innovative applications in various industries!
See Also
Creating a DIY Drone Thermal Camera with Analog FPV
Progress in Small Thermal Camera Technology for Drone Imaging
Top Picks for Thermal Drone Camera Prices in 2024
Comparing DIY Drone Thermal Camera with FPV Option
Optimizing Drone Performance with Analog FPV Thermal Cameras
iSun digitech limited
iSun was established in 2007, specialising in automotive electronics, providing integrated software and hardware solutions. Products include Thermal imaging, Night Vision,Car Multimedia player, LCD Smart Car Key, CarPlay AI Box.

Contact Us: Ms. Coco Huang
E-mail: sales@iasun.cn
WhatsApp/Wechat: +86 13510421923