How to Install Auto MP5 and DVD Player in Your Car

Introduction
Upgrade your car audio system with an auto MP5 and auto DVD player for an enhanced entertainment experience. In today's fast-paced world, it's important to have a reliable and high-quality audio system in your car that can keep up with your on-the-go lifestyle. Whether you're commuting to work, going on a road trip, or simply running errands around town, having a car MP5 and DVD player can greatly enhance your driving experience.
With an auto MP5 and DVD player, you can enjoy crystal-clear sound quality and immersive audio while listening to your favorite music or watching movies on the go. These advanced audio systems are designed to provide a seamless integration with your car's existing audio system, allowing you to easily control the playback and volume settings from the comfort of your steering wheel or dashboard.
Not only do auto MP5 and DVD players offer superior sound quality, but they also come with a range of features that make them a must-have for any car enthusiast. From Bluetooth connectivity for hands-free calling and wireless music streaming to USB ports for charging your devices on the go, these systems are packed with convenient functionalities that will make your driving experience more enjoyable.
Installing an auto MP5 and DVD player in your car is easier than you might think. With our step-by-step guide, we will walk you through the installation process from start to finish. Whether you're a seasoned DIYer or new to car modifications, our instructions are easy to follow and require only basic tools and materials.
So why wait? Upgrade your car audio system today with an auto MP5 and DVD player for an enhanced entertainment experience on the road. Get ready to take your driving experience to the next level with crystal-clear sound quality, convenient functionalities, and seamless integration. Follow our step-by-step guide below to install an auto MP5 and DVD player in your car.
Gathering the Necessary Tools
To successfully install an auto MP5 and DVD player in your car, you will need to gather the necessary tools. Having the right tools on hand will make the installation process much smoother and more efficient. Here are some essential tools you will need:
Screwdriver set: A set of screwdrivers with various sizes and types of heads is crucial for removing panels and accessing the wiring in your car.
Trim removal tools: These specialized tools are designed to help you safely remove trim pieces without damaging them or your car's interior.
Wire cutters/strippers: You will need wire cutters to trim and strip the wires during the installation process. Make sure to choose a pair that is suitable for automotive use.
Crimping tool: This tool is necessary for securely connecting wires together using crimp connectors or terminals.
Electrical tape: Electrical tape is essential for insulating and protecting exposed wires from short circuits or damage.
Multimeter: A multimeter is used to measure voltage, current, and resistance in electrical circuits. It can be helpful for troubleshooting any issues that may arise during the installation process.
Panel removal tool: This tool is specifically designed to remove panels without causing any damage to them or your car's interior.
Wire connectors/terminals: These connectors are used to join wires together securely and ensure reliable electrical connections.
By gathering these necessary tools before starting the installation process, you will be well-prepared to tackle any challenges that may arise along the way. Remember to always prioritize safety and take your time when working with electrical components in your car.
Preparing Your Car
Before you begin installing an auto MP5 and DVD player in your car, it's important to prepare your vehicle for the installation process. Taking the time to properly prepare your car will ensure a smooth and successful installation, as well as help protect your car's interior.
Firstly, gather all the necessary tools and materials needed for the installation. This may include a set of screwdrivers, wire strippers, electrical tape, and any additional cables or adapters specific to your car model. It's essential to have everything on hand before you start working on your car to avoid any delays or interruptions during the installation process.
Next, disconnect the car battery to prevent any electrical mishaps or short circuits while working on your car's audio system. Locate the battery in your vehicle and use a wrench or socket set to loosen the negative terminal connection. Once disconnected, secure the cable away from the battery terminal to prevent accidental reconnection.
Now it's time to remove the existing audio system from your car. Start by carefully removing any trim panels or covers that may be hiding screws or clips holding the system in place. Use a screwdriver or panel removal tool to gently pry off these panels without causing damage. Once exposed, unscrew or unclip the old audio system and disconnect any wiring harnesses attached to it.
With the old audio system removed, you can now proceed with installing the auto MP5 and DVD player. Carefully follow the manufacturer's instructions for mounting and securing the new unit in place. Make sure all connections are secure and properly aligned before proceeding.
After installing the new unit, it's crucial to connect all necessary wiring according to the manufacturer's instructions. This includes connecting power wires, speaker wires, antenna cables, and any other required connections specific to your car model. Take extra care when handling delicate wiring components and ensure they are properly insulated using electrical tape or heat shrink tubing.
Once all connections are made, take a moment to test the system before reassembling your car's audio system. Reconnect the car battery and power on the new auto MP5 and DVD player. Test all functions, including audio playback, video display, and any additional features or settings. If everything is working correctly, proceed with reassembling your car's audio system by reversing the steps you took to remove the old unit.
Installing the Auto MP5 and DVD Player
To begin installing the auto MP5 and DVD player in your car, you'll need to carefully follow these steps:
Prepare the Wiring: Before you start, make sure to disconnect the car battery to avoid any electrical mishaps. Then, gather all the necessary tools and materials for the installation process. This includes wire strippers, crimping tools, electrical tape, and a wiring harness adapter specific to your car's make and model.
Remove the Existing Audio System: Start by removing the trim panels around the current audio system. Use a panel removal tool or a flathead screwdriver wrapped in cloth to prevent any damage. Once the panels are removed, unscrew and disconnect any wires attached to the old audio system.
Install the Auto MP5 and DVD Player: Carefully mount the auto MP5 and DVD player into your car's dashboard using a suitable mounting kit or brackets. Make sure it is securely fastened in place before proceeding.
Connect the Wiring: Connect the wiring harness adapter from your car to the corresponding ports on the back of the auto MP5 and DVD player. Ensure that each wire is properly connected according to its color coding or labeled diagram provided with your new audio system.
Test Your System: After connecting all the wires, double-check that everything is securely connected and insulated with electrical tape where necessary. Reconnect your car battery and power on your new audio system to test its functionality. Check if all speakers are working correctly, as well as other features such as Bluetooth connectivity or GPS navigation if available.
Reassemble Your Car Audio System: Once you have confirmed that everything is working properly, reassemble all trim panels around your new auto MP5 and DVD player. Take care not to pinch any wires during this process.
By following these step-by-step instructions, you can successfully install an auto MP5 and DVD player in your car. Enjoy your upgraded audio system and enhanced entertainment experience on the road!
Reassembling Your Car Audio System
After successfully installing the auto MP5 and DVD player in your car, it's time to reassemble your car audio system. This step is crucial to ensure that everything is securely in place and functioning properly.
Start by carefully reconnecting any wires or cables that were disconnected during the installation process. Make sure to match the color-coded wires and connect them according to the manufacturer's instructions. It's important to double-check each connection to avoid any potential issues later on.
Next, carefully place the auto MP5 and DVD player unit back into its designated spot in your car's dashboard. Ensure that it fits snugly and securely, as a loose unit can cause rattling noises or even damage while driving.
Once the unit is securely in place, reattach any panels or trim pieces that were removed earlier. Take your time with this step to ensure that everything lines up correctly and looks seamless. Be gentle when handling these pieces to avoid scratching or damaging them.
Finally, reconnect your car battery by attaching the positive (+) cable first, followed by the negative (-) cable. Double-check that all connections are tight and secure before starting your car.
Before considering the installation complete, it's essential to test your newly installed auto MP5 and DVD player system. Turn on your car and check if all functions are working correctly - from playing CDs or DVDs to accessing radio stations or connecting via Bluetooth.
Conclusion
In conclusion, upgrading your car audio system with an auto MP5 and DVD player can greatly enhance your entertainment experience while on the road. By following our step-by-step guide, you can easily install these devices in your car and enjoy a whole new level of audio and video enjoyment.
One of the main benefits of installing an auto MP5 and DVD player is the improved sound quality. With advanced audio processing technology, these devices can deliver crystal clear sound that will make your favorite music come to life. Whether you're a music enthusiast or just enjoy listening to the radio while driving, you'll notice a significant improvement in the overall audio experience.
Additionally, an auto MP5 and DVD player allows you to enjoy movies and videos on the go. Long road trips can now be more enjoyable for both the driver and passengers as they can watch their favorite movies or TV shows right from the comfort of their car seats. This is especially useful for families with children who often get bored during long journeys.
Moreover, these devices offer a wide range of connectivity options. Most auto MP5 and DVD players come with USB ports, SD card slots, Bluetooth connectivity, and even Wi-Fi capabilities. This means that you can easily connect your smartphone or other devices to play your own music playlists or stream content from popular online platforms such as Spotify or YouTube.
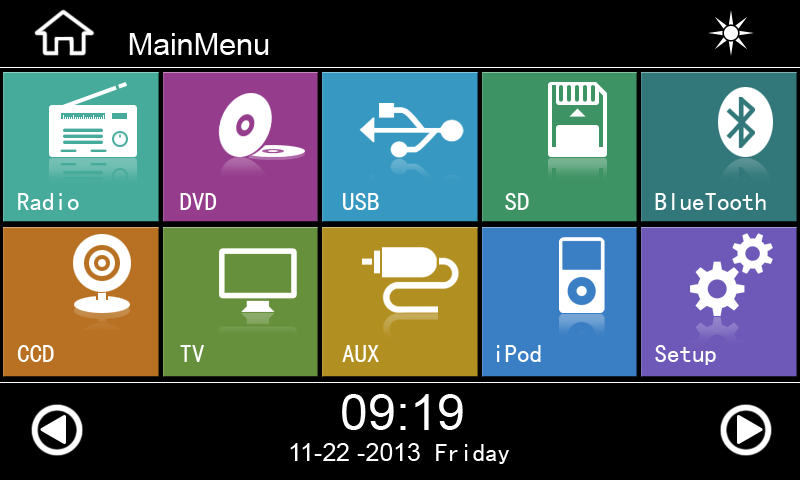
Another advantage of installing an auto MP5 and DVD player is the added convenience it provides. Many models come with touchscreens and user-friendly interfaces that make it easy to navigate through menus and settings. You can easily switch between different sources like radio, CD/DVD player, USB drive, or Bluetooth device without any hassle.
Furthermore, safety features are also incorporated into these devices to ensure a smooth driving experience. Some models have built-in GPS navigation systems that provide accurate directions and real-time traffic updates. Others may have rearview camera support to assist you in parking or reversing safely.
Lastly, installing an auto MP5 and DVD player can also increase the value of your car. If you decide to sell or trade-in your vehicle in the future, having a modern and upgraded audio system can be an attractive selling point. Potential buyers will appreciate the added entertainment features and may be willing to pay a higher price for your car.
In conclusion, upgrading your car audio system with an auto MP5 and DVD player is a worthwhile investment that can greatly enhance your driving experience. With improved sound quality, access to various media sources, and added convenience features, you'll never have a dull moment on the road. So why wait? Follow our step-by-step guide and start enjoying the benefits of an auto MP5 and DVD player in your car today!
See Also
Improve Your Driving Safety with an Automotive DVD Player
Boost Your Driving Safety with an Automatic DVD Player
10 Features that Should Not Exist in an Auto Carplayer for BMW
Increase Your Safety while Driving with an Automatic DVD Player

Contact Us: Ms. Coco Huang
E-mail: sales@iasun.cn
WhatsApp/Wechat: +86 13510421923